Configure your studios and CLI to use Media Library
Once Media Library is enabled for your organization, you can connect it to your Studio and the CLI.
This articles covers enabling Media Library in your Studio, managing asset sources, and configuring the sanity CLI to create and deploy aspects.
This is a paid feature
This feature is available as an addon for certain Enterprise plans. Talk to sales to learn more.
Prerequisites:
npm,pnpm, or a similar package manager capable of installing and running thesanityCLI.- Read/write access to your organization's Media Library.
- Studio v3.82.0 or later for Studio integration. Learn how to upgrade your Studios.
Obtain your mediaLibraryId
When you interact with the sanity media commands, you're prompted to select your library. If you only have a single organization, you should see a single library. If you're a member of multiple organizations, you can parse your organization and library ID using the URL.
Navigate to sanity.io/welcome, select your organization, then select the Media Library app. The URL for your library includes the mediaLibraryId.
https://www.sanity.io/@<organizationId>/media/<mediaLibraryId>/assetsConfigure Studio
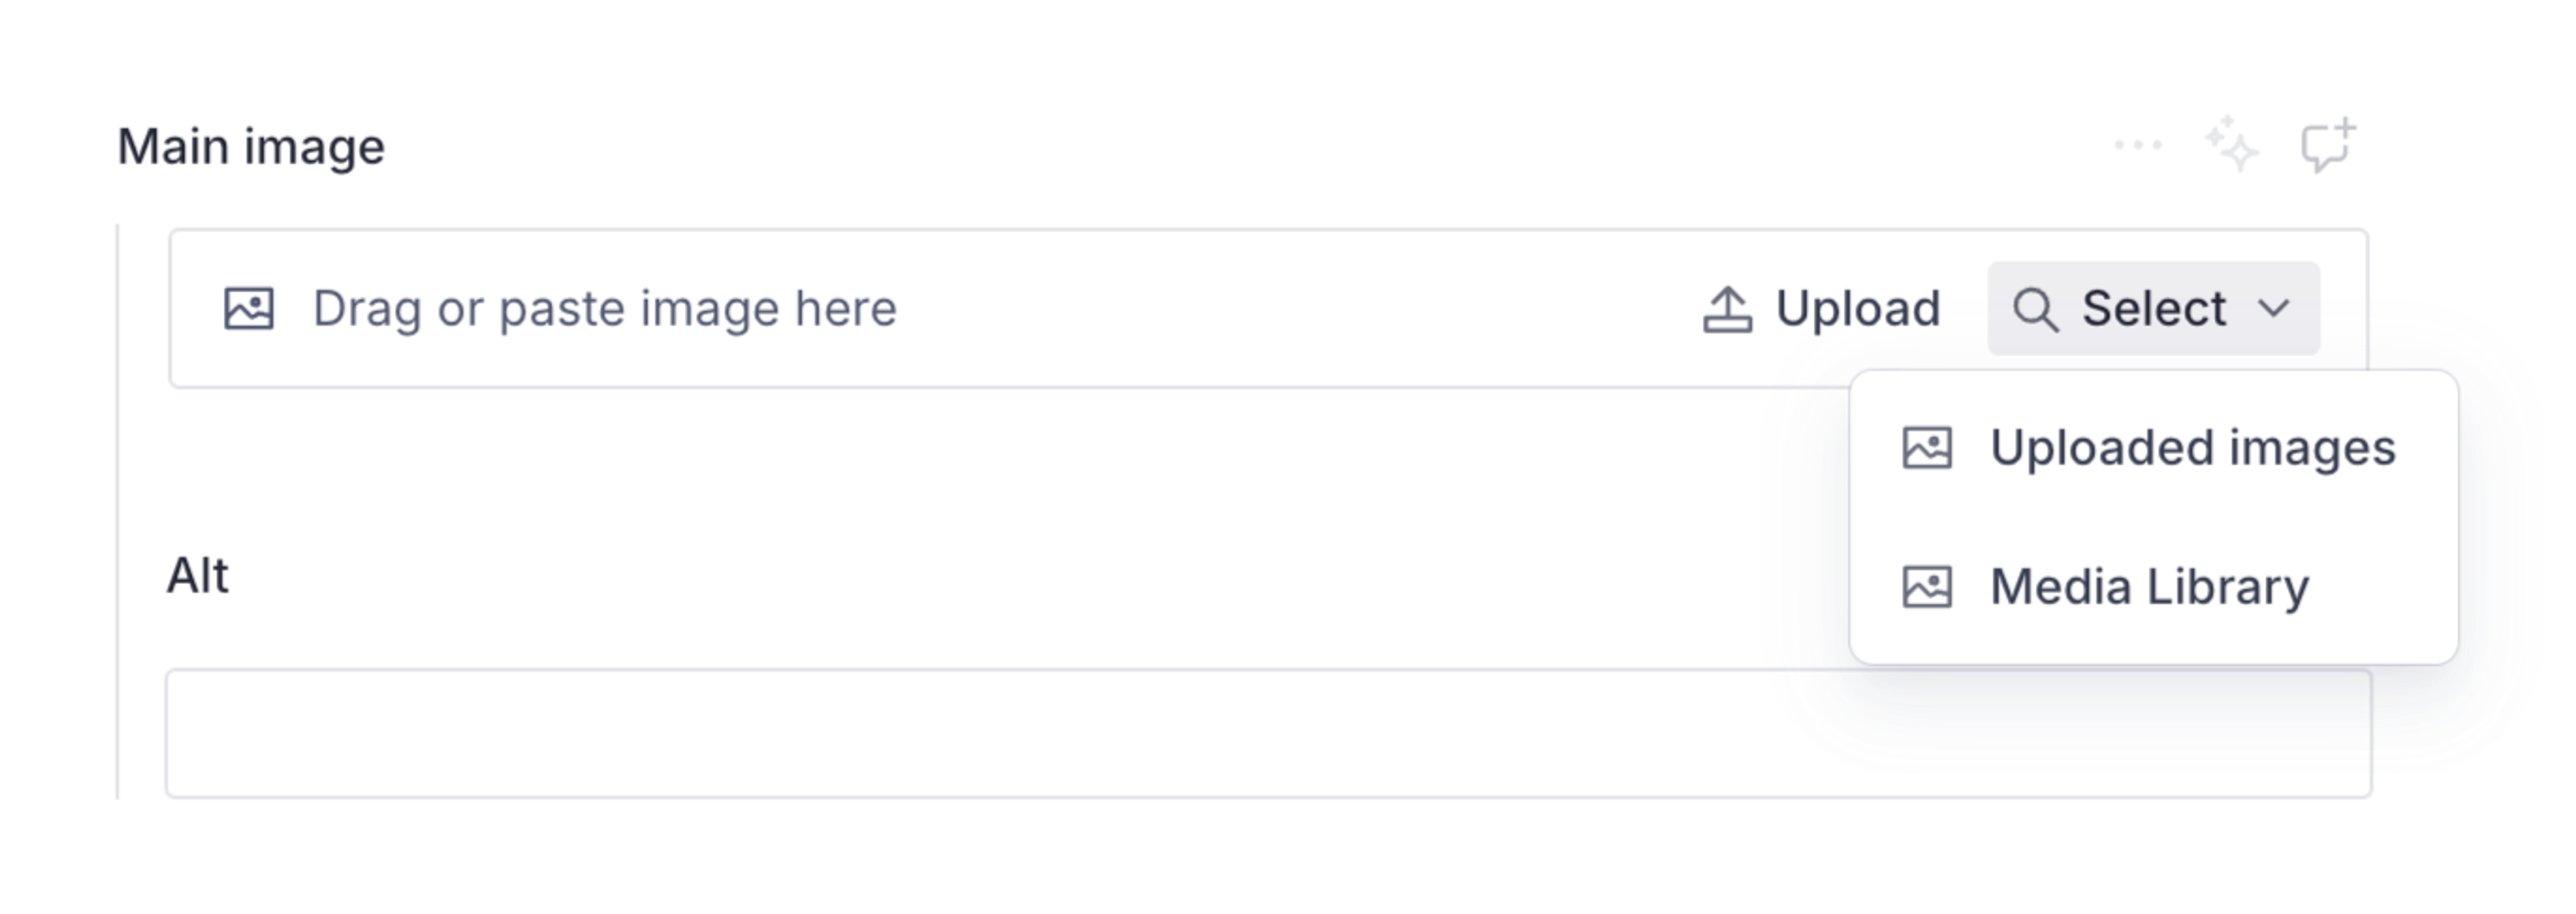
Media Library integration with Studio lets editors select assets from the library for use in their documents, and upload new files and images to the library.
Enable Media Library support by setting mediaLibrary.enabled to true in your sanity.config.ts file.
Token-based authentication should also be enabled by setting auth.loginMethod to 'token' to ensure full functionality.
import {defineConfig} from 'sanity'
import {structureTool} from 'sanity/structure'

export default defineConfig({
  projectId: '<your-project-Id>',
  dataset: '<your-dataset>',
  mediaLibrary: {
    enabled: true,
    // Optional: pin the Studio to a specific library
    libraryId: '<mediaLibraryId>',
  },
  auth: {
    loginMethod: 'token',
  },
  plugins: [structureTool()],
  schema: {
    // ...
  },
})
The optional libraryId setting connects the Studio to a specific library. If you don't provide it, the Media Library is detected automatically. Set it to the mediaLibraryId you obtained earlier if your studio does not detect the library.
Authentication
Some Media Library features are unsupported when using cookie-based authentication. To ensure full functionality, we strongly recommend using token-based authentication.
When cookie-based authentication is detected, a warning banner will be displayed in the Media Library.
Currently unsupported features:
- Previewing private assets, both in Studio and when selecting assets from the Media Library
- Managing signing keys
- Downloading assets
- Syncing asset version usage
Optional: disable the default source
If you want to move completely to Media Library, you can disable the default media source. Use the form.image.assetSources configuration in your Studio config file (sanity.config.ts) to filter the sources.
This example keeps Media Library and any custom sources, but removes the default media select option.
import {defineConfig} from 'sanity'

export default defineConfig({
  // ... rest of config

  mediaLibrary: {
    enabled: true,
  },
  form: {
    // Disable the default for image assets
    image: {
      assetSources: (sources) => sources.filter((source) => source.name !== 'sanity-default')
    },
    // Disable the default for file assets
    file: {
      assetSources: (sources) => sources.filter((source) => source.name !== 'sanity-default')
    }
  },

  // ... rest of config
})
If you'd like to be more explicit and target the Media Library source, you can do so by comparing the source name with sanity-media-library.
Add filters to image type selector
You can add selectable filters to the Studio image type by adding the mediaLibrary option to the image type's options object.
export default defineType({
  name: 'imageWithMediaLibraryFilters',
  title: 'Image with Media Library filter',
  type: 'image',
  options: {
    mediaLibrary: {
      filters: [
        {
          name: 'Has colorDetails aspect',
          query: 'defined(aspects.colorDetails)',
        },
        {
          name: 'Greater than 4000px wide',
          query: 'currentVersion->metadata.dimensions.width > 4000',
        },
      ],
    },
  },
})
Each filter has a name and query. The query is a GROQ query filter that runs against the Media Library dataset. If it returns true, the matching image is displayed.
Configure the CLI
Tell sanity CLI where to define your aspects by updating sanity.cli.ts.
import {defineCliConfig} from 'sanity/cli'

export default defineCliConfig({
  api: {
    projectId: '<your-project-Id>',
    dataset: '<dataset-name>'
  },
  mediaLibrary: {
    // set the path relative to the location of sanity.cli.ts.
    aspectsPath: 'aspects',
  },
  /**
   * Enable auto-updates for studios.
   * Learn more at https://www.sanity.io/docs/cli#auto-updates
   */
  autoUpdates: true,
})
With the aspects path defined, you can now use the media commands to create and deploy aspects.