Content operators quick start guide
Practical tips and instructions for managing your content within the Sanity ecosystem
Getting started with Sanity Studio
Whether you're a content editor, marketer, or business stakeholder, this guide will provide you with practical tips and instructions for managing your content within the Sanity ecosystem.
Sanity Studio is a customizable content management interface where you'll create, edit, and organize your content. Here's how to get started:
- Logging in: Access Sanity Studio through the URL provided by your development team which is typically sanity.io/welcome and will redirect you to your organization’s Sanity domain.
- Sanity Dashboard: When you first log in, you’ll either see your organization’s dashboard from which you can quickly access studios you are assigned to and view recently edited documents with related insights. Navigate to the Studio you want to edit your respective content from.
- Studio navigation: Your Studio’s navigation is configured by your development team using the Structure tool. Typically, the left sidebar groups content by type. Select a content type to see its documents, and use the top navigation to access the tools enabled in your workspace.
Why Sanity works this way
Understanding structured content will transform how you think about creating and managing digital content. When you create content in Sanity, it’s best to think in concepts (events, products, articles) rather than pages (homepage, event page, email template).
Step back from "What will this page look like?" and ask "What does our business offer and how do people think about it?"
This shift in thinking is powerful, because it lets your work create more impact, scale better, and stay consistent across every touchpoint as your focus shifts to creating great content that works everywhere automatically.
Creating and editing content
Adding new content
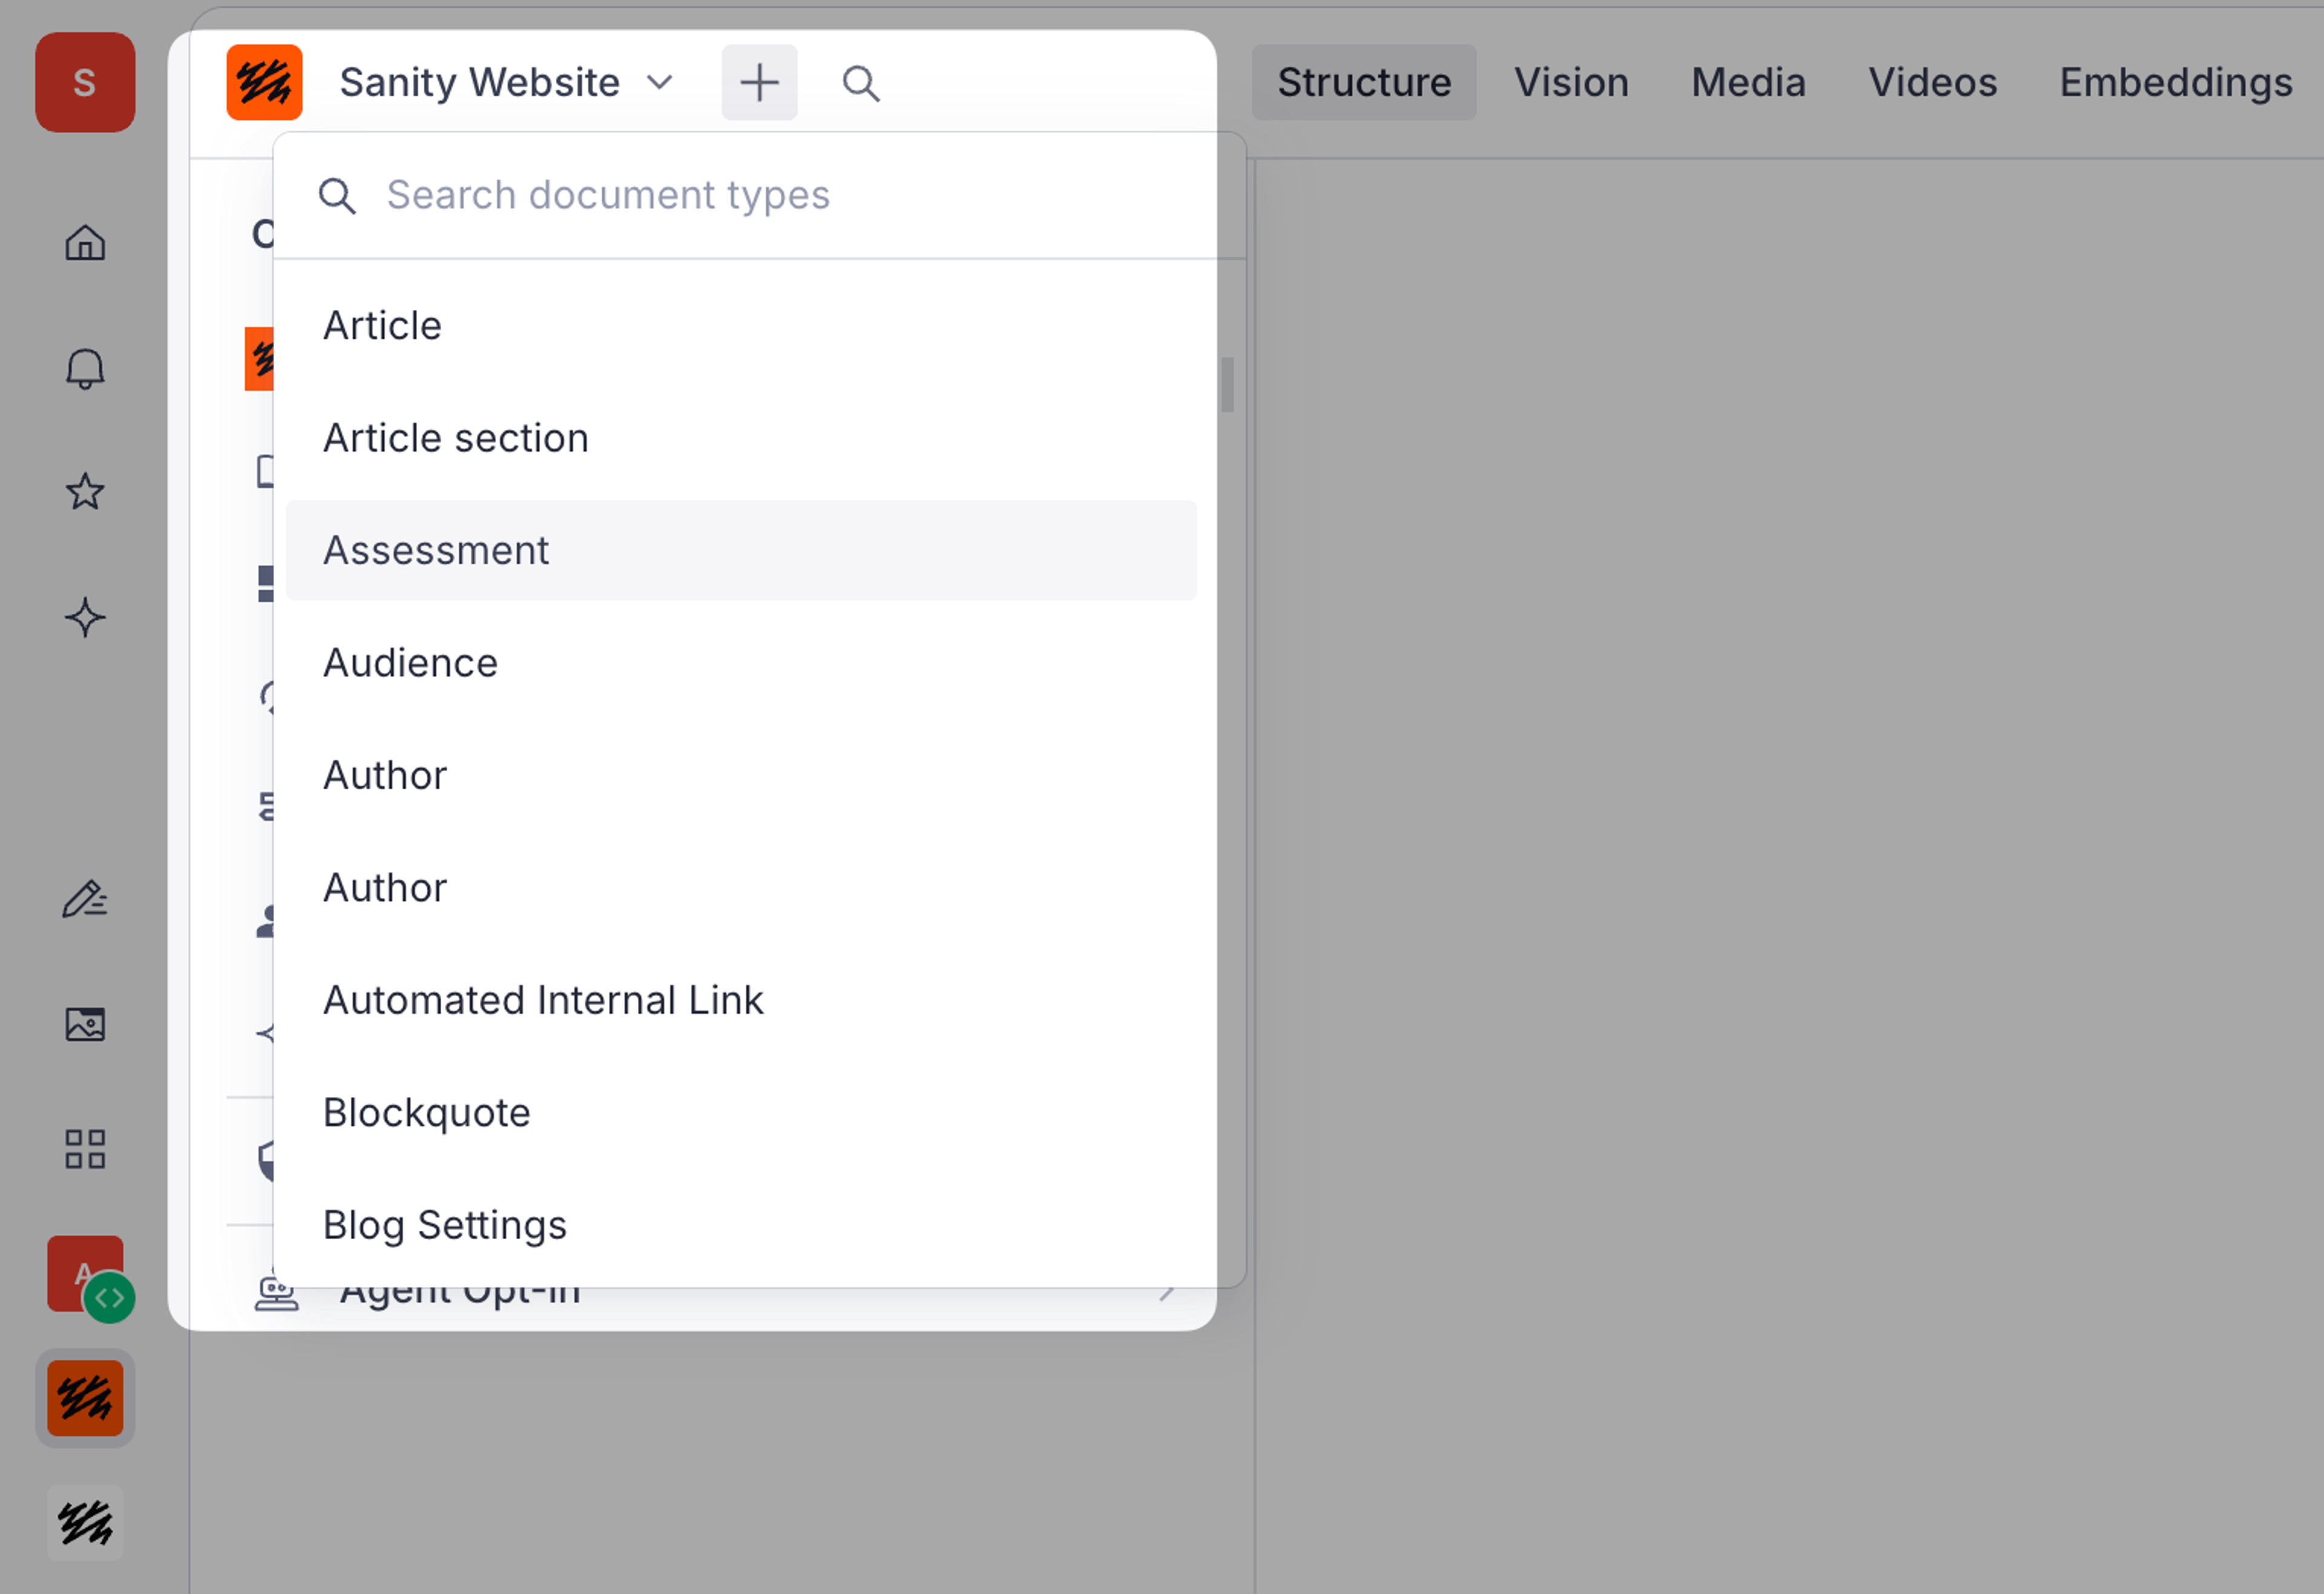
Select the “+” icon in the top navigation and select a content type, or navigate to the content type via the sidebar and click “+” in the document list.
Complete all required fields (marked with asterisks). When you’re ready, select Publish in the lower right. Your project may also include custom actions here (for example, approval or translation workflows) added by your development team. Ask them which actions are available in your Studio.
Editing existing content
Use the search bar or browse content lists to find what you need. Click any item to open the editor.
Make your edits, then click Publish to update live content immediately.
Removing existing content
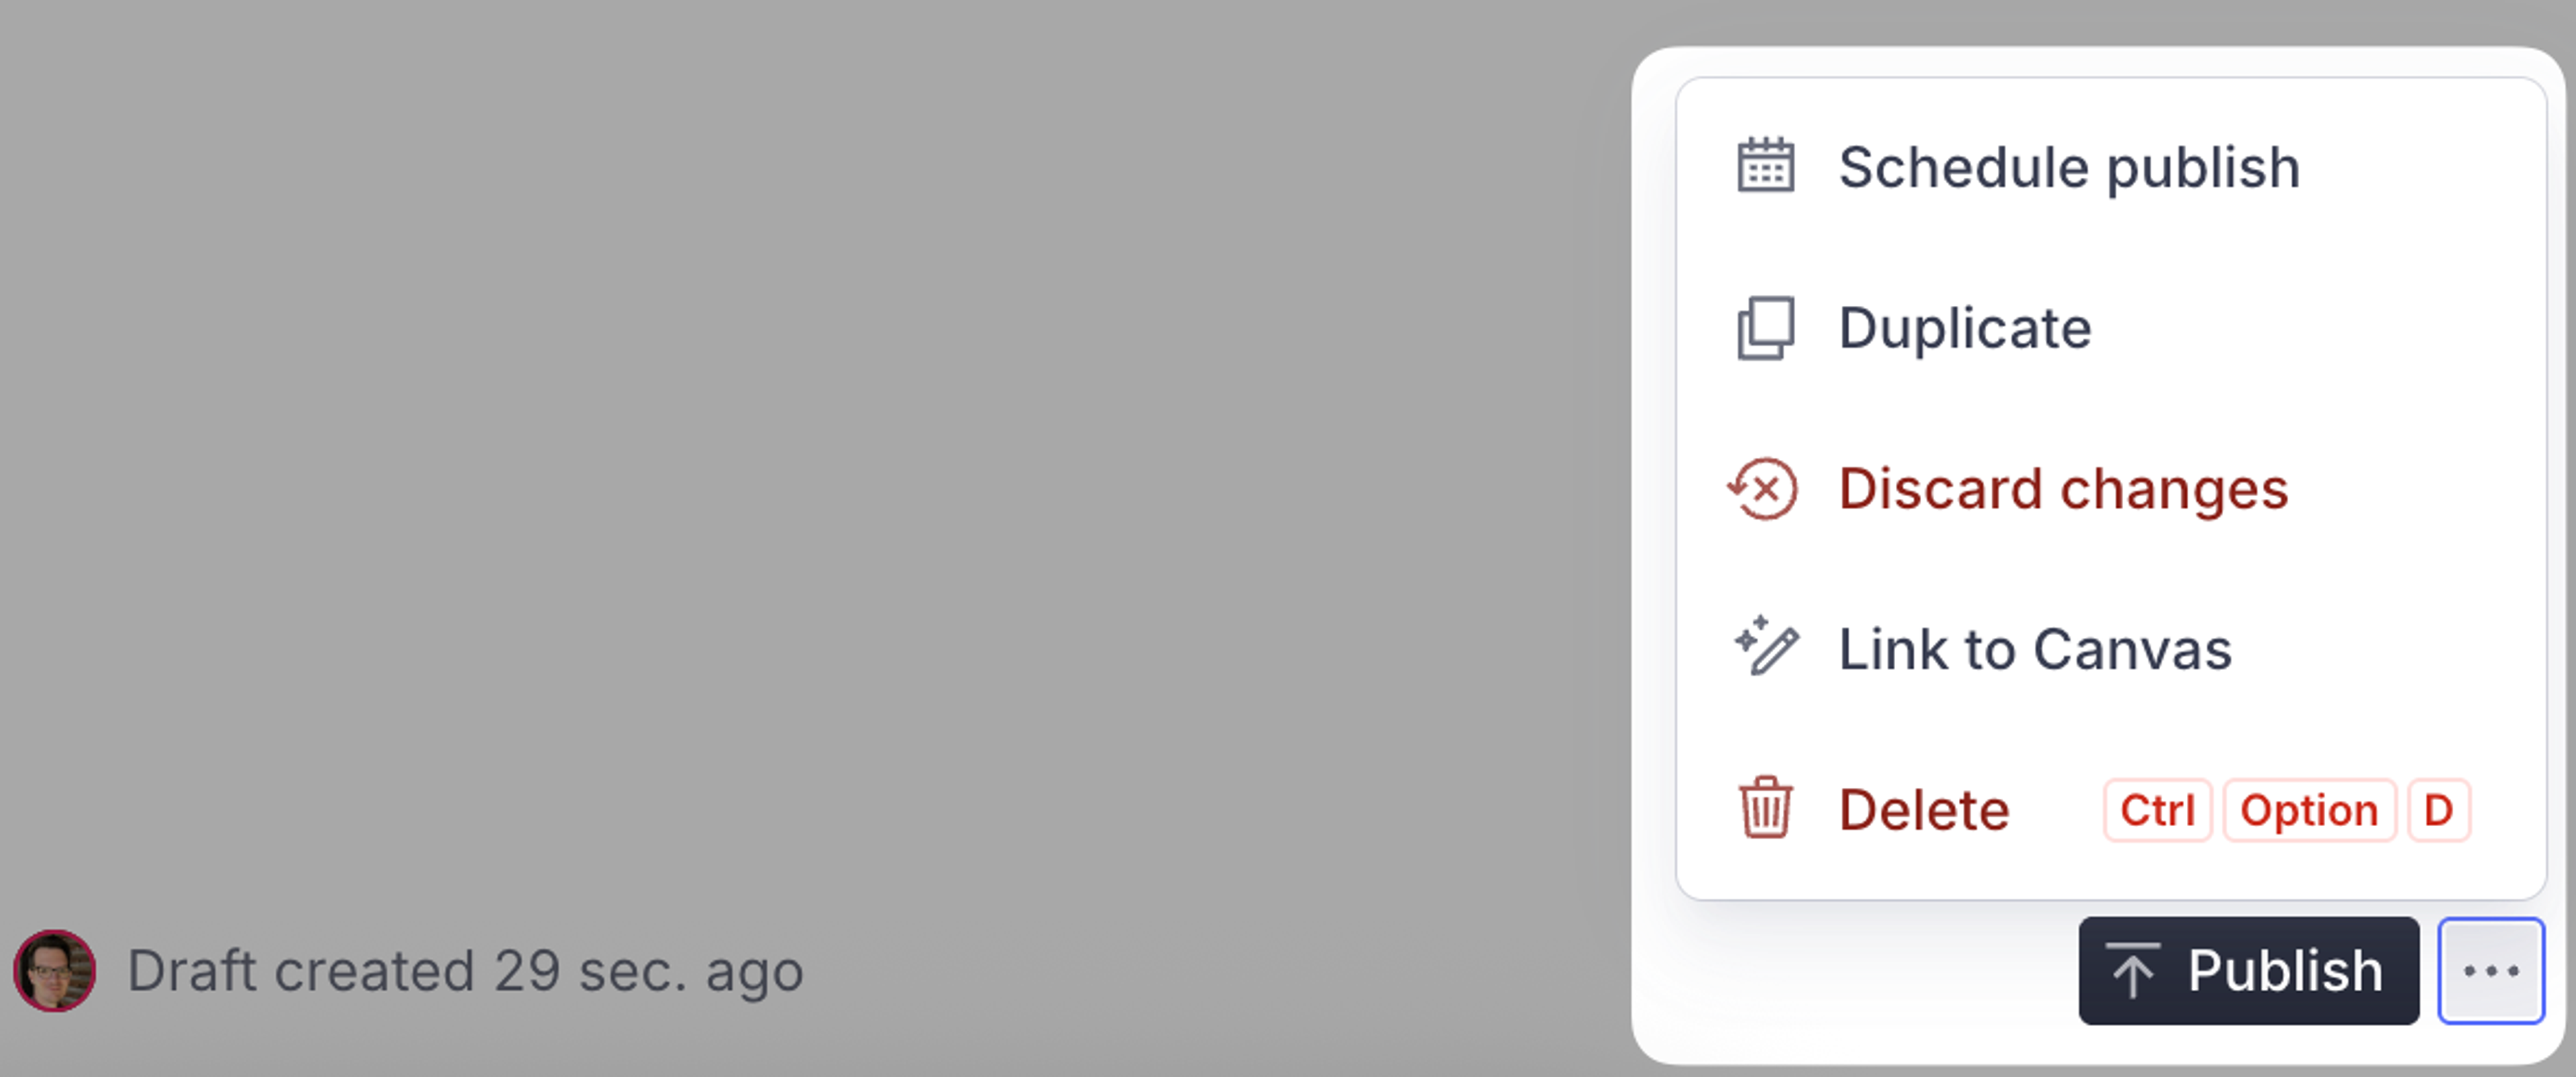
If you have permissions, open the content item, open the Document actions menu (⋮) next to Publish and select Delete. Confirm the deletion when prompted. If other documents reference the one you’re deleting, Sanity warns you first so you don’t create broken links.
Deleting is permanent! Consider unpublishing or archiving content instead to preserve history.
If you’re working with a draft document, the Discard changes option removes the current draft content.
Other useful document actions
The Document actions menu (⋮) and the pane header also include:
- Duplicate: create a copy of the current document to use as a starting point.
- Copy document URL and Copy document ID: share a direct link with a teammate, or give the ID to your developers.
- Compare versions: view two revisions side by side.
- Inspect: view the document’s underlying data. Useful when troubleshooting with developers.
Finding and searching for content
The global search bar searches across all content types. Type keywords, document titles, or even content snippets to find what you need instantly.
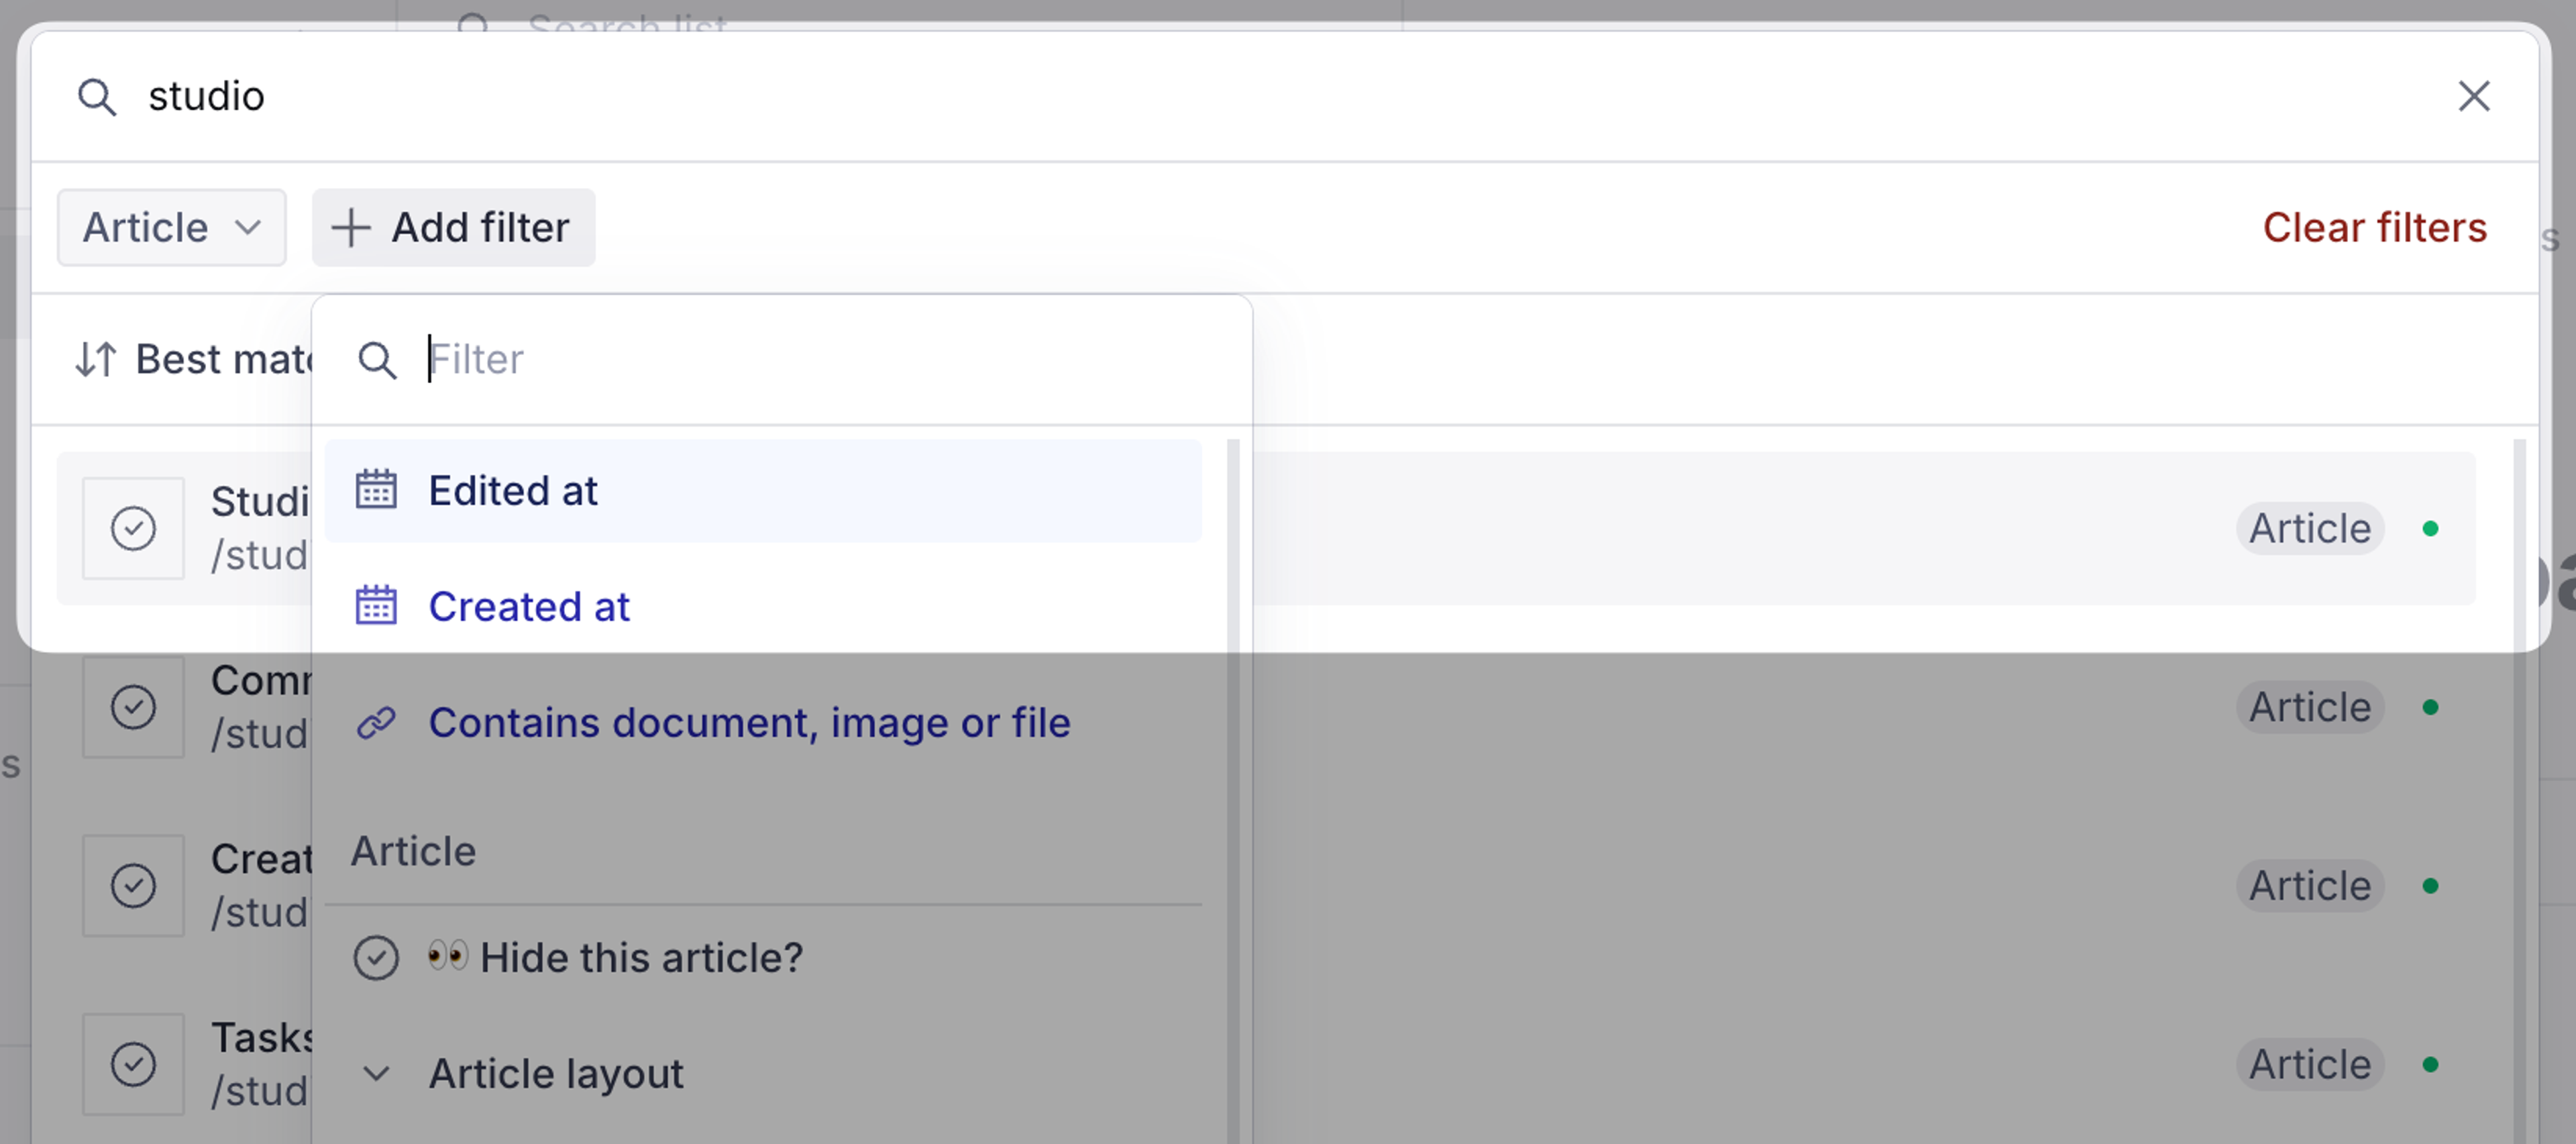
Apply filters to narrow by document type, creation or edit date, or any field in your content model. The pinned Contains document, image or file filter finds every document that references a given document, image, or file. It’s handy before you delete or replace something. Your recent edits appear in the Dashboard for quick access.
Combine search with filters for precise results. Sort by date, title, or custom fields to find what you need.
In any document list, open the pane menu (⋮) to sort by title, created date, or last edited, and to switch between Compact and Detailed views.
Working with drafts and publishing
Drafts vs. published documents
All new content starts as a draft and is visible only to your team in the Studio, not to end-users. This gives you space to perfect content before going live.
In content lists, a yellow dot means a document has unpublished edits, and a green dot means it’s published. A document can show several dots at once (for example, a published document that also has a draft and a version in an upcoming release).
Path to publish
Use preview mode to see how content will appear before publishing. Follow your team's internal approval workflow.
Need to update published content? Edit directly and it will create a draft copy. When ready, select Publish to replace the live version.
Use scheduled publishing to plan content releases for specific dates and times (if configured).
Reverting to previous versions
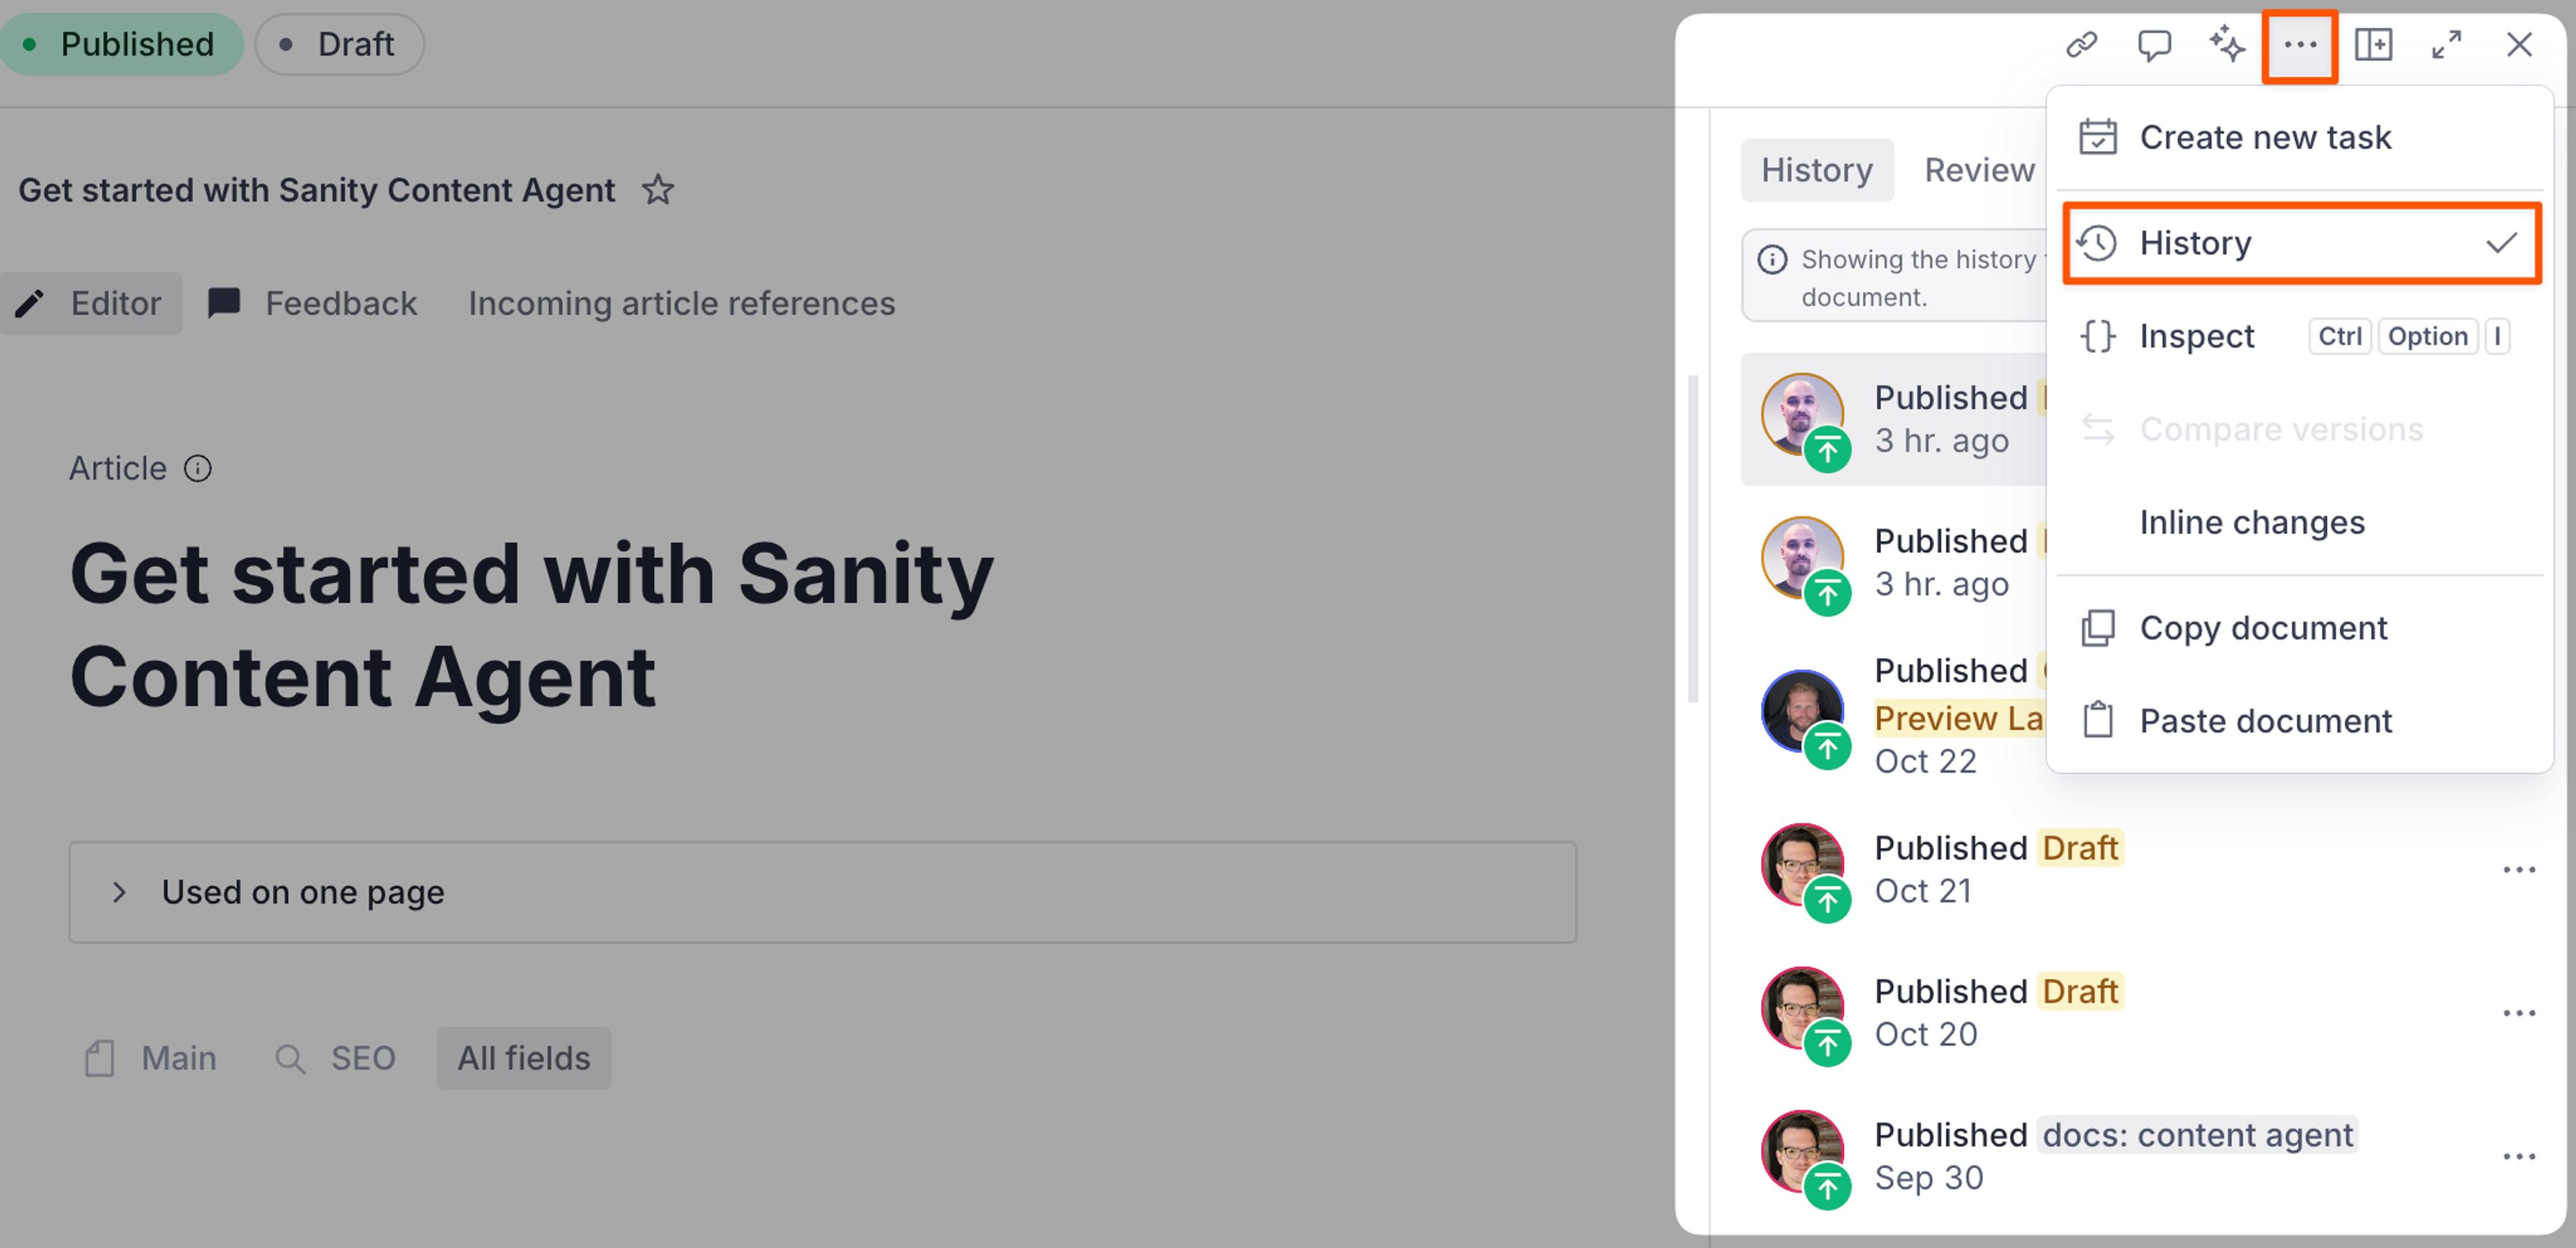
Select the document status text at the bottom of the editor (for example, “Published 2 days ago”) to open the History panel. The Review changes tab shows what changed since the last publish, and the History tab lists earlier revisions. Select a revision and choose Revert to revision to restore it.
Unpublish content
You can also unpublish content. With the green “Published” view selected, select the Document actions menu (⋮) next to the Publish button and select Unpublish. This removes content from public view while preserving it as a draft in the Studio for future use or updates.
Working with references and relationships
Update once, reflect everywhere. That's the power of references.
References connect content items, creating live relationships that update automatically.
Think of references as smart links between content. When you reference an author on a blog post, you're connecting to the actual author document, not copying text.
Common reference use cases include author profiles, product specs, legal disclaimers, location data, and category tags. These are typically the "nouns" related to your business for which you want to maintain consistent information across all your digital channels.
To create a reference, select a document from the dropdown menus in reference fields. The system shows you where content is referenced, helping you understand content relationships. Your developer team will ensure your references are strong, so you can confidently use them across your content landscape.
Sanity warns you before deleting referenced content to prevent broken links. Always check usage before deleting.
Working with rich text
The Portable Text Editor gives you formatting superpowers: bold, italic, headings, links, embedded media, lists, and tables, or any custom component relevant for your business (promotions, related content, etc.).
Managing media and assets
Media Library
This is a paid feature
This feature is available as an addon for certain Enterprise plans. Talk to sales to learn more.
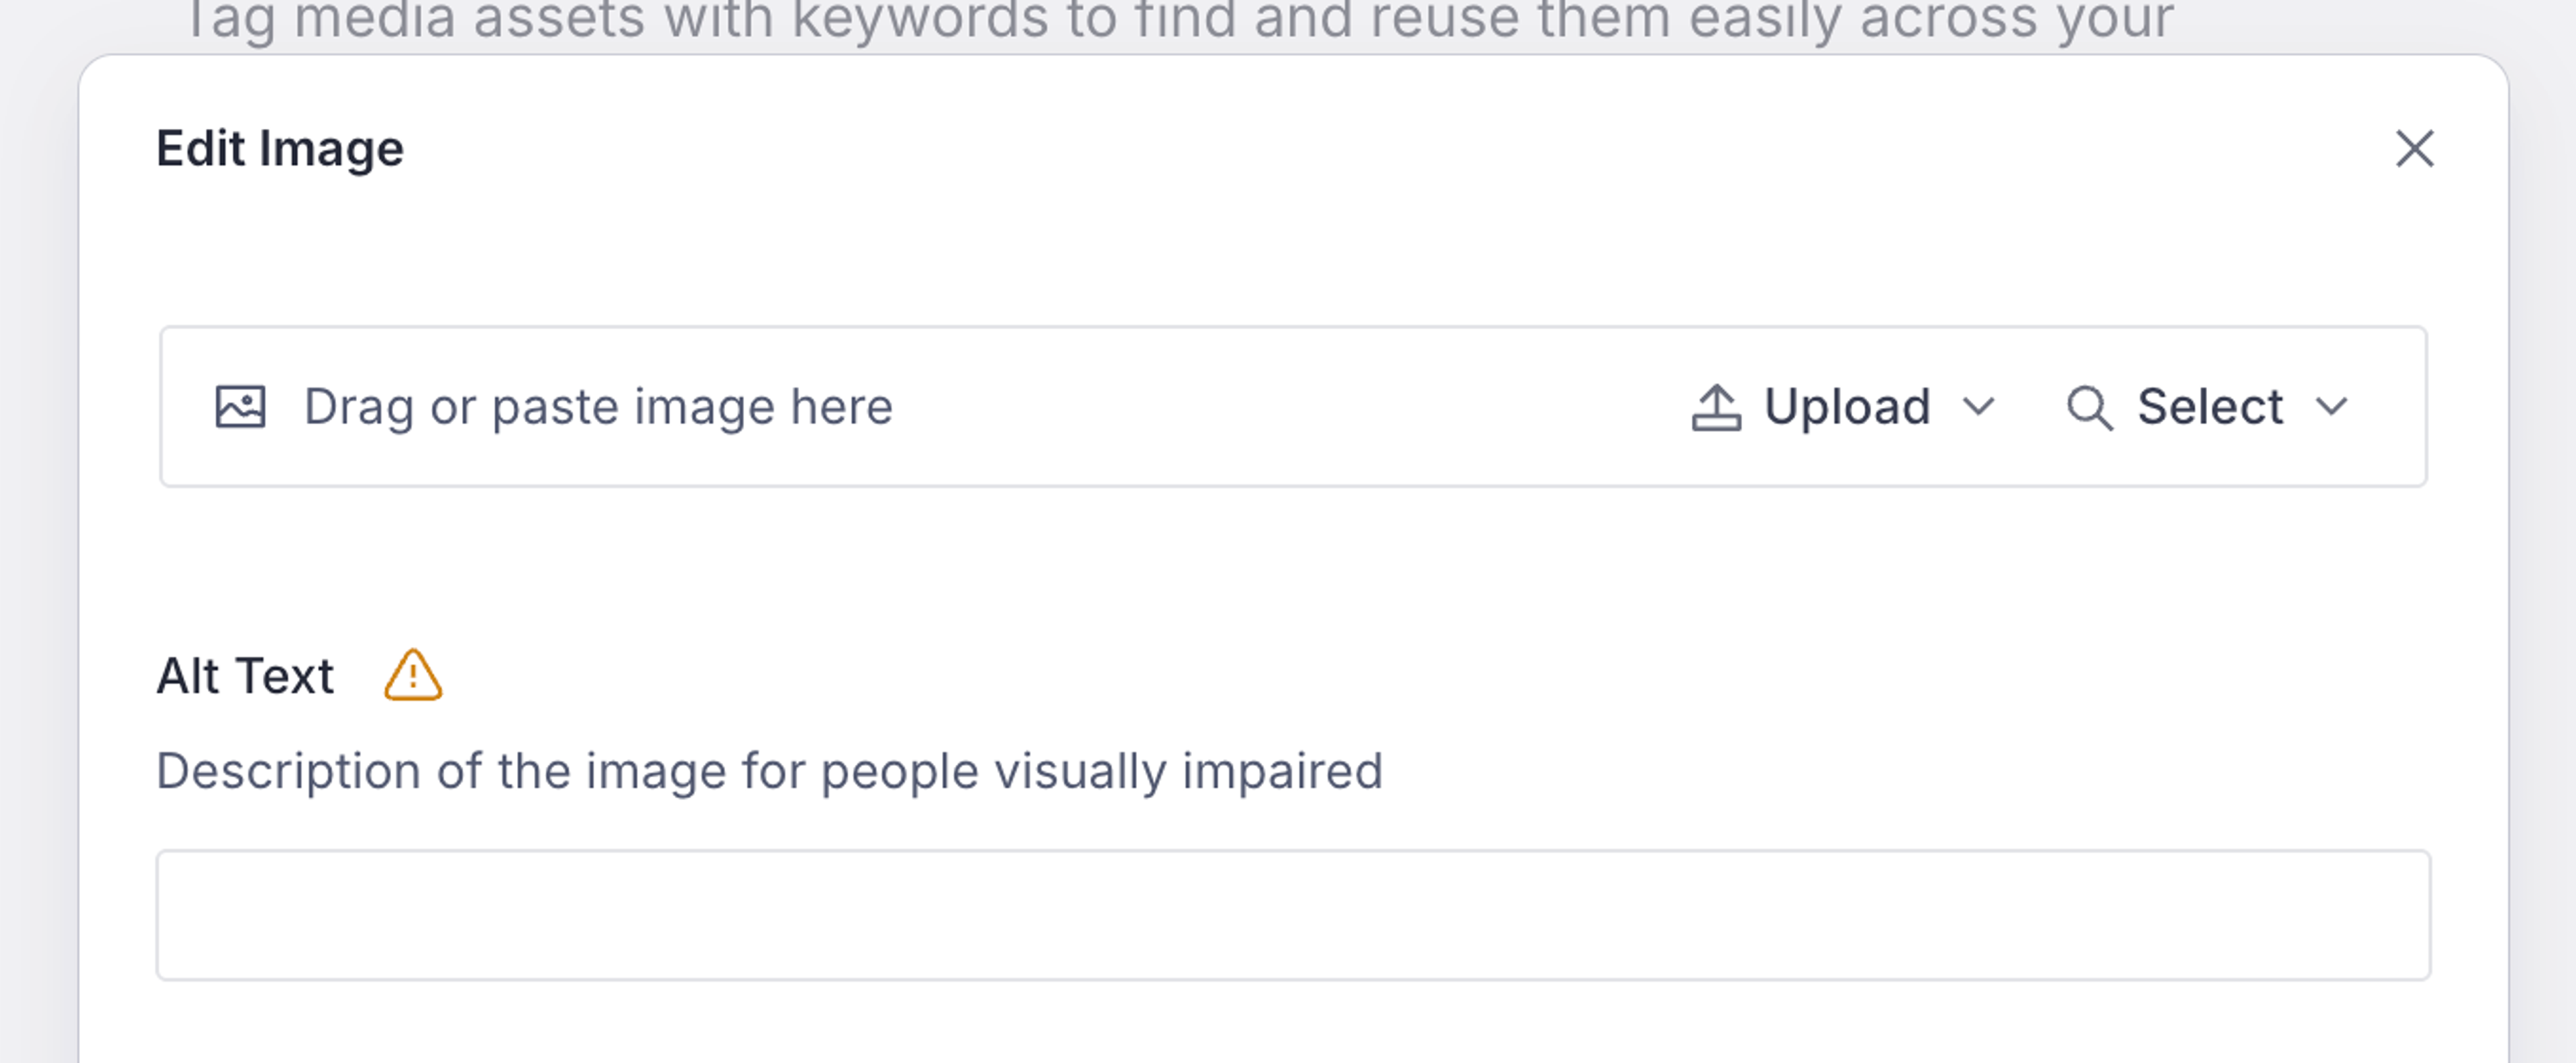
If enabled, upload images, videos, and documents through the Media Library. Add descriptive alt text and captions for accessibility and search-ability.
Tag media assets with keywords to find and reuse them easily across your content.
The Media Library shows where each asset is used, helping you avoid accidentally deleting in-use images.
Media plugin
If enabled, upload images, video and documents through the Media plugin. You can manage these assets later by selecting "Media" in your Studio's top navigation bar.
Media best practices
To upload: select image fields → Upload → select files.
Need to replace an image? Select the asset and select Replace for references to update automatically everywhere.
Create collections or folders (if enabled) to group related assets.
Advanced content operations
Content planning and scheduling
Sanity provides powerful tools to prepare, schedule, and publish content with confidence:
Drafts are work-in-progress (team only). Published content is live (public).
Scheduling: Use scheduling features to plan individual content publishing.
Workflow management: Follow established approval processes for content review and publication all from within Sanity, ensuring quality control across the team.
Planning content with Content Releases
Planning a campaign? Use Content Releases to bundle multiple documents and publish them together at a scheduled time.
In your Studio, you can see both currently published content and drafts in progress. For strategic initiatives like holidays, promotions, or events, start by consulting your content calendar to identify upcoming needs.
Create or update the necessary content pieces and group them into a release, such as “winter campaign,” that you can publish simultaneously. Content Releases keep your seasonal and promotional content organized and ready to launch at the right moment. This ensures coordinated messaging across your digital presence. You can organize recurring campaigns using the same release planning pattern.
Content as data
Why Content as data matters
Content as data means your content is platform-agnostic, future-proof, and infinitely reusable.
Create content once, use it everywhere. Your content can power websites, apps, digital signage, or future platforms you haven't even imagined yet.
Real-world examples
- Author profiles: Write once, display on blog posts, author pages, and search results automatically.
- Product information: Core specs live in one document, used across product pages, category listings, and promotional banners.
- Legal disclaimers: Update your terms once, they update everywhere instantly. No hunting for duplicates.
This approach eliminates copy-paste errors, ensures consistency, and makes updates lightning-fast.
Content governance and localization
Your role determines what you can view and edit. Use comments to collaborate with team members directly in documents. Press @ to mention teammates in comments and they’ll receive an email notification.
Every change is tracked in the audit trail, showing who edited what and when. Perfect for accountability and compliance.
Multi-language content management
Working with translations
Sanity provides two primary methods for managing translated content, each with specific advantages depending on your content strategy.
With field-level translations, you update all language versions simultaneously and publish them together. This is ideal for content where names, images, or product specifications stay the same across regions.
Document-level translations create separate documents for each language version. This gives you the freedom to manage and publish each language independently.
Troubleshooting and getting help
Common issues and solutions
Content won't publish
Check for validation errors (red indicators) and ensure all required fields are completed.
Media upload failing
Verify file size and format are supported. Try compressing large images.
Studio running slow
Refresh your browser or clear cache. Close unused browser tabs to free up memory.
Join your organization's Sanity SLA channel in slack.sanity.io for real-time help.
Close collaboration with your developer team who understand your custom setup will help you resolve most issues quickly.
Continue learning
Official user guides
Ready to dive deeper? Explore official Sanity documentation for advanced features, best practices, and pro tips.
Master advanced workflows with comprehensive guides on Content Releases, Scheduled Publishing, and Localization.
We recommend you start with our Intro to Structured Content.
Studio customization
Work with your developers to customize your studio with custom document actions, validation rules, and field-level permissions tailored to your workflow.
Explore the Sanity Studio technical documentation on extending and customizing your studio environment.
Join the community
Connect with thousands of Sanity users worldwide. Share tips, get help, discover creative solutions, and stay updated on new features.
Join our Discord community to get support from both Sanity employees and experienced community members.
Glossary of common terms
Understanding the terminology used in Sanity will help you communicate effectively with your developer team:
- Content model: The underlying types of content and their relationships to one another for a given organization or project.
- Content Lake: The Database where all your content lives in a structured format, making it accessible via APIs. What you see in the Studio is not the entire Content Lake because the Studio provides the user interface to interact with specific content types based on your permissions. The Content Lake may contain additional content, historical versions, and data that is managed by other teams or used by different applications within your organization's digital ecosystem.
- Document: The fundamental unit of content in Sanity that represents a single, complete piece of information. Think of a document as a digital container that holds all the details about one specific item—whether it's a webpage, blog post, product description, or promotional message. Documents can be referenced and reused across your digital properties, ensuring consistency while eliminating the need to duplicate information.
- GROQ (Graph-Relational Object Queries): The query language used to retrieve content from Sanity. It is used by developers to fetch and filter content from your dataset. While you won't need to write GROQ queries yourself, understanding that it powers the content delivery can help you communicate with your technical team about content needs.
- Media Library: The centralized repository where all your digital assets (images, videos, documents) are stored and managed. When you insert media into your content, you're creating a reference to the asset in the Media Library rather than duplicating the file itself.
- Mutations: Changes made to your content. Developers use this term to describe operations that add, update, or delete content in your Sanity dataset. When you publish, edit, or delete content, you're creating "mutations" in the system. The system tracks these changes, and you can revert them if needed. This gives you, as an editor, confidence in the work you are doing.
- Portable Text: Sanity's rich text format that stores content as structured data. You may be familiar with traditional rich text editors that format content visually. Portable Text goes beyond that because it can include references to other content, custom components, and can be rendered across different platforms consistently.
- Reference: A connection between different content items. Unlike traditional copy-paste approaches, references maintain a live connection between content pieces. When you update a referenced item, those changes automatically reflect everywhere the item is referenced. This creates a single source of truth for your content and helps maintain consistency across your digital experiences. References can be created in the workspace you are assigned to or in a separate workspace where all the information is stored that needs to remain consistent across your digital properties (e.g. product names, legal disclaimers, people). This approach ensures that when core information changes, it's automatically updated across all connected content without manual updates.
- Schema: The blueprint defining your content structure. What fields exist, what types they are, and what rules they follow.
- Structure: The customized navigation and organization of your studio. Visually it’s represented at the top of your studio under “Structure”. This is where you'll find different content types organized into categories. The customized structure should match your specific workflow and content organization needs, so you can find what you need quickly.
- Structured content: Information that is broken into its smallest reasonable pieces, which are explicitly organized and classified to be understandable by computers and humans.
- Studio: The customizable content editing interface where you create, edit, and manage your content. It's a web-based application that provides a user-friendly way to interact with your content stored in the Content Lake. The studio can be tailored to your specific needs, with custom document types, fields, and workflows designed for your organization.
- Workspaces: Separate environments within Sanity that allow teams to organize content by project, department, or function. Workspaces help maintain clear boundaries between different content areas and can have their own permissions, schemas, and configurations. This separation enables specialized teams to focus on their specific content responsibilities without interfering with other areas.
- Webhook: Automated notifications sent to your websites or applications when content changes in your Sanity dataset.