Set up and configure Dashboard
Get started with Sanity Dashboard, the central hub of all your content operations.
Set up your content operations dashboard
Find your dashboard
To find your organization dashboard, go to the Sanity welcome page.
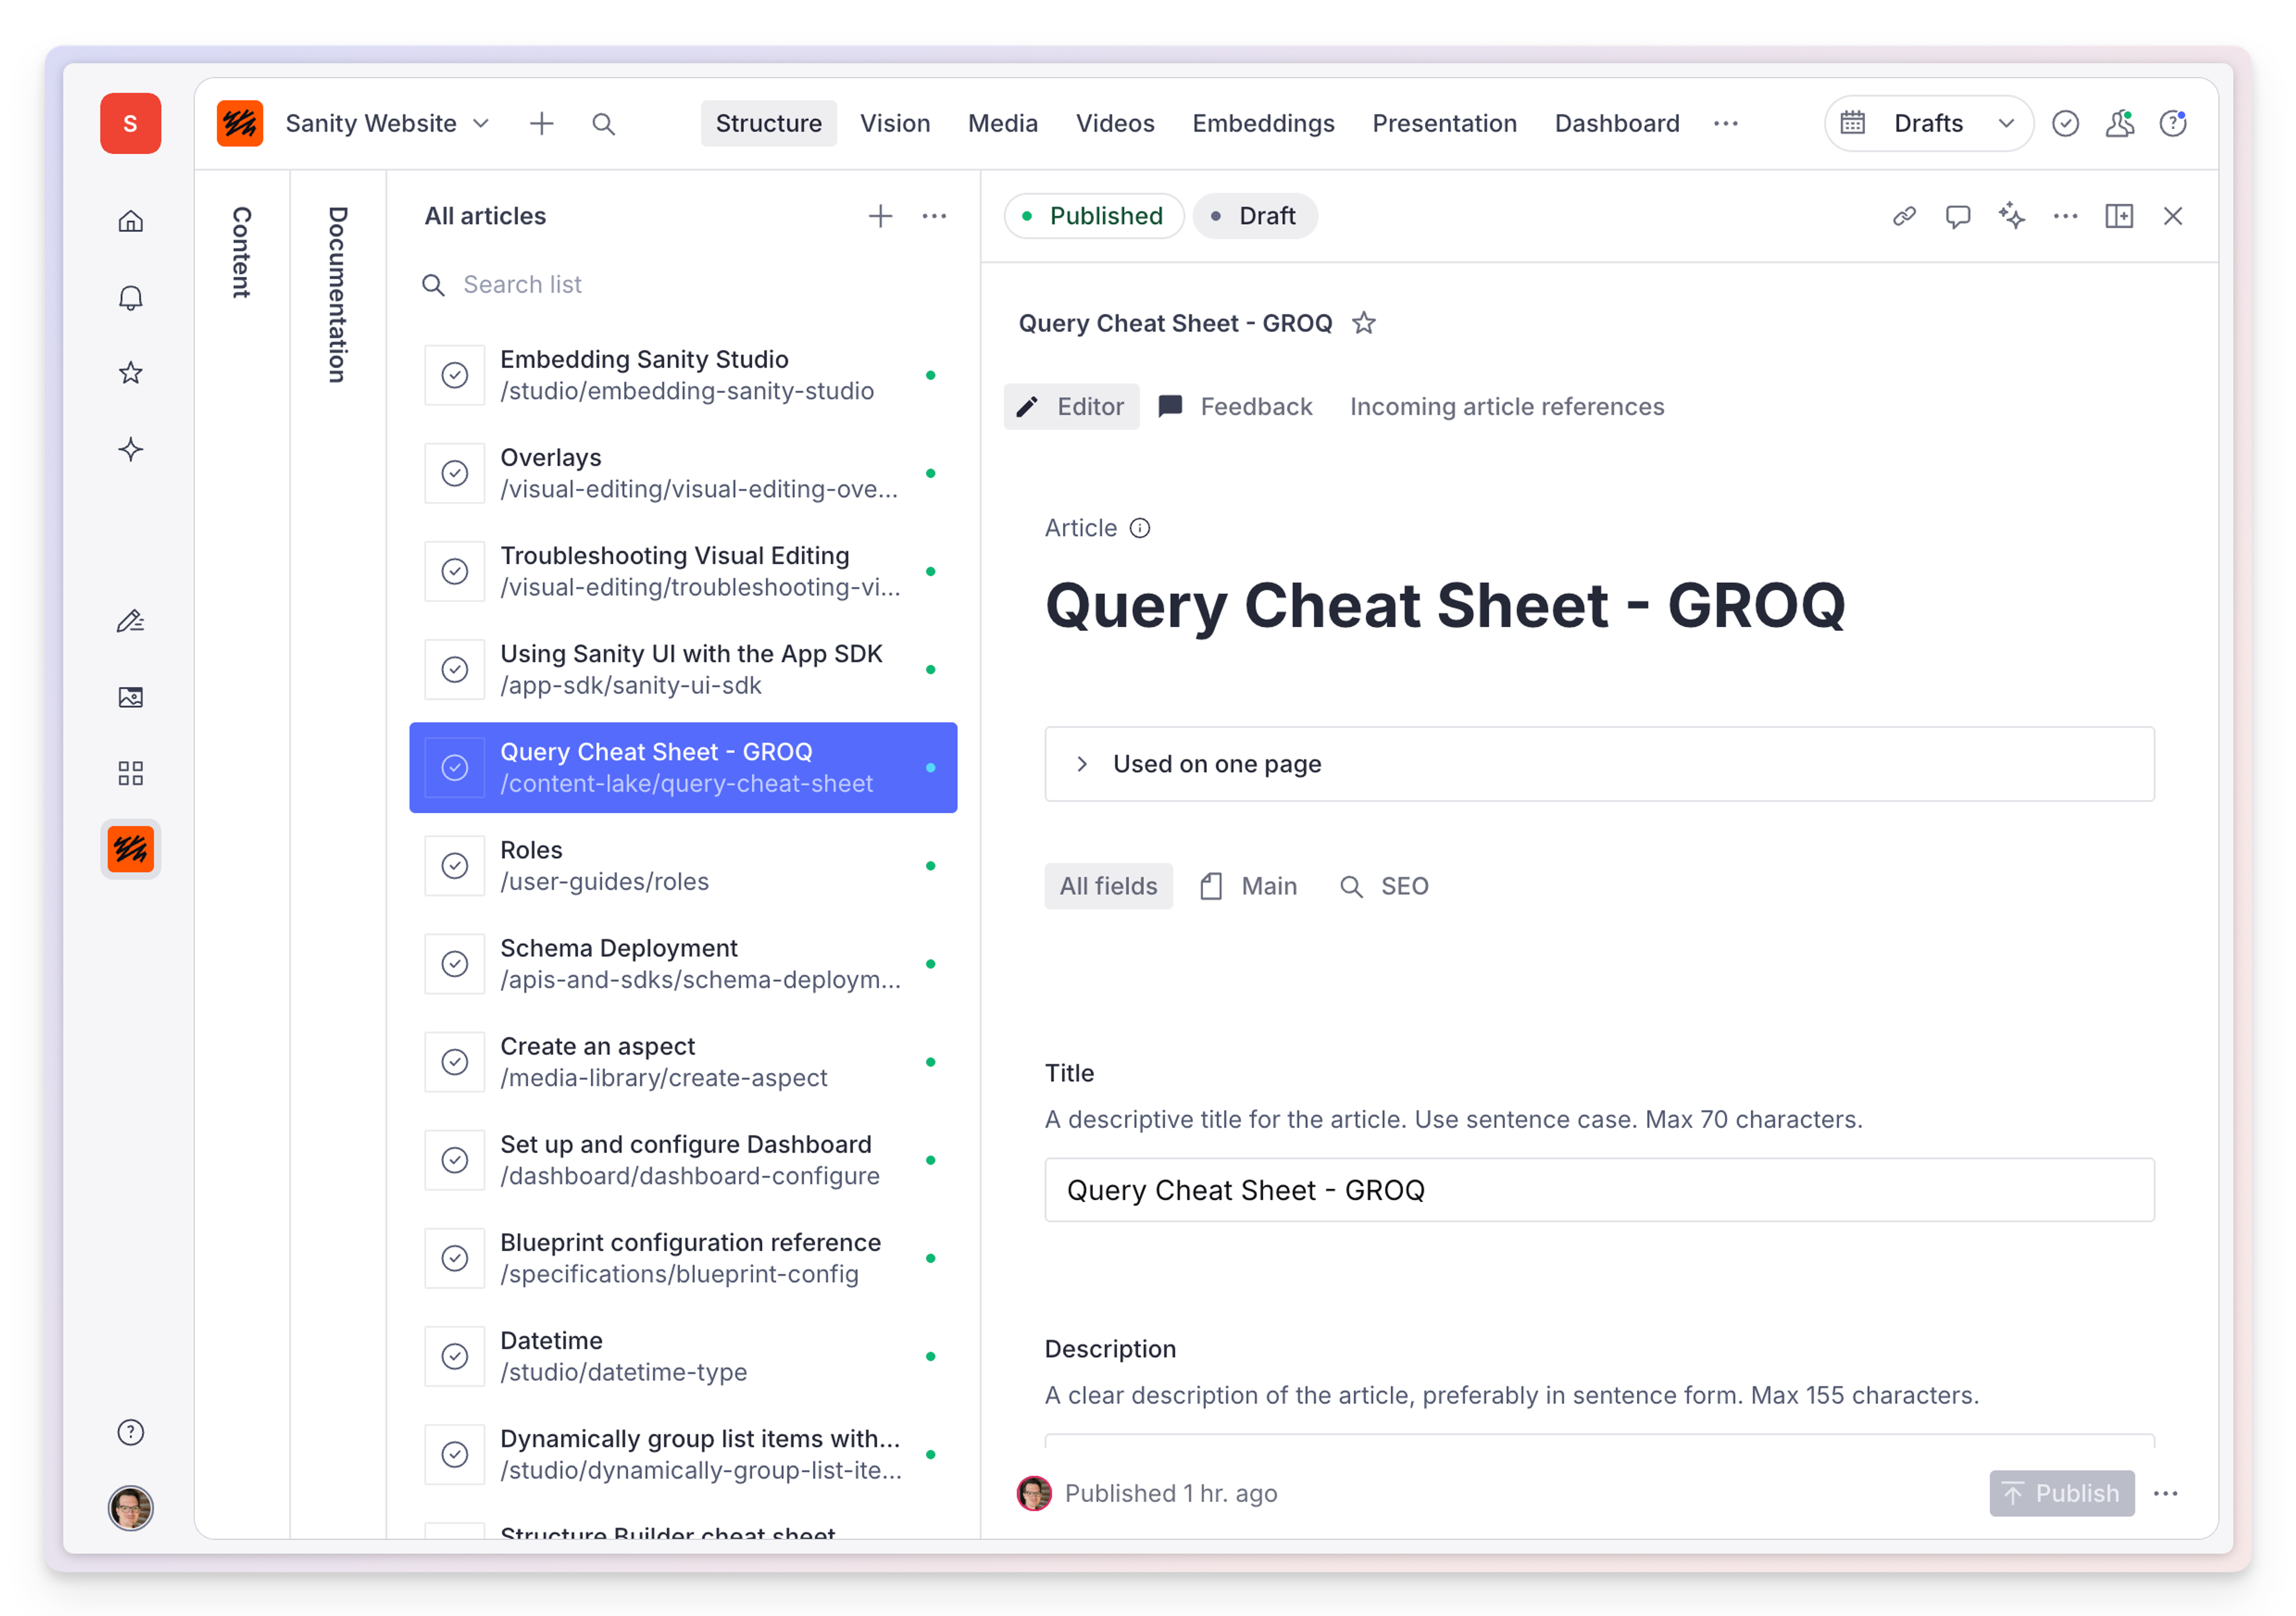
The Sanity Dashboard is the hub for your organization's content operations. Here you'll find your deployed studios, custom apps, and official Sanity apps like Canvas or Media Library.
Your dashboard is centered around your organization, and gives access to all deployed studios and apps within the organization, across projects and datasets.
Dashboard plugin
Sanity Studio already has an official dashboard plugin. That plugin remains available for your in-studio dashboard needs.
Disable Dashboard
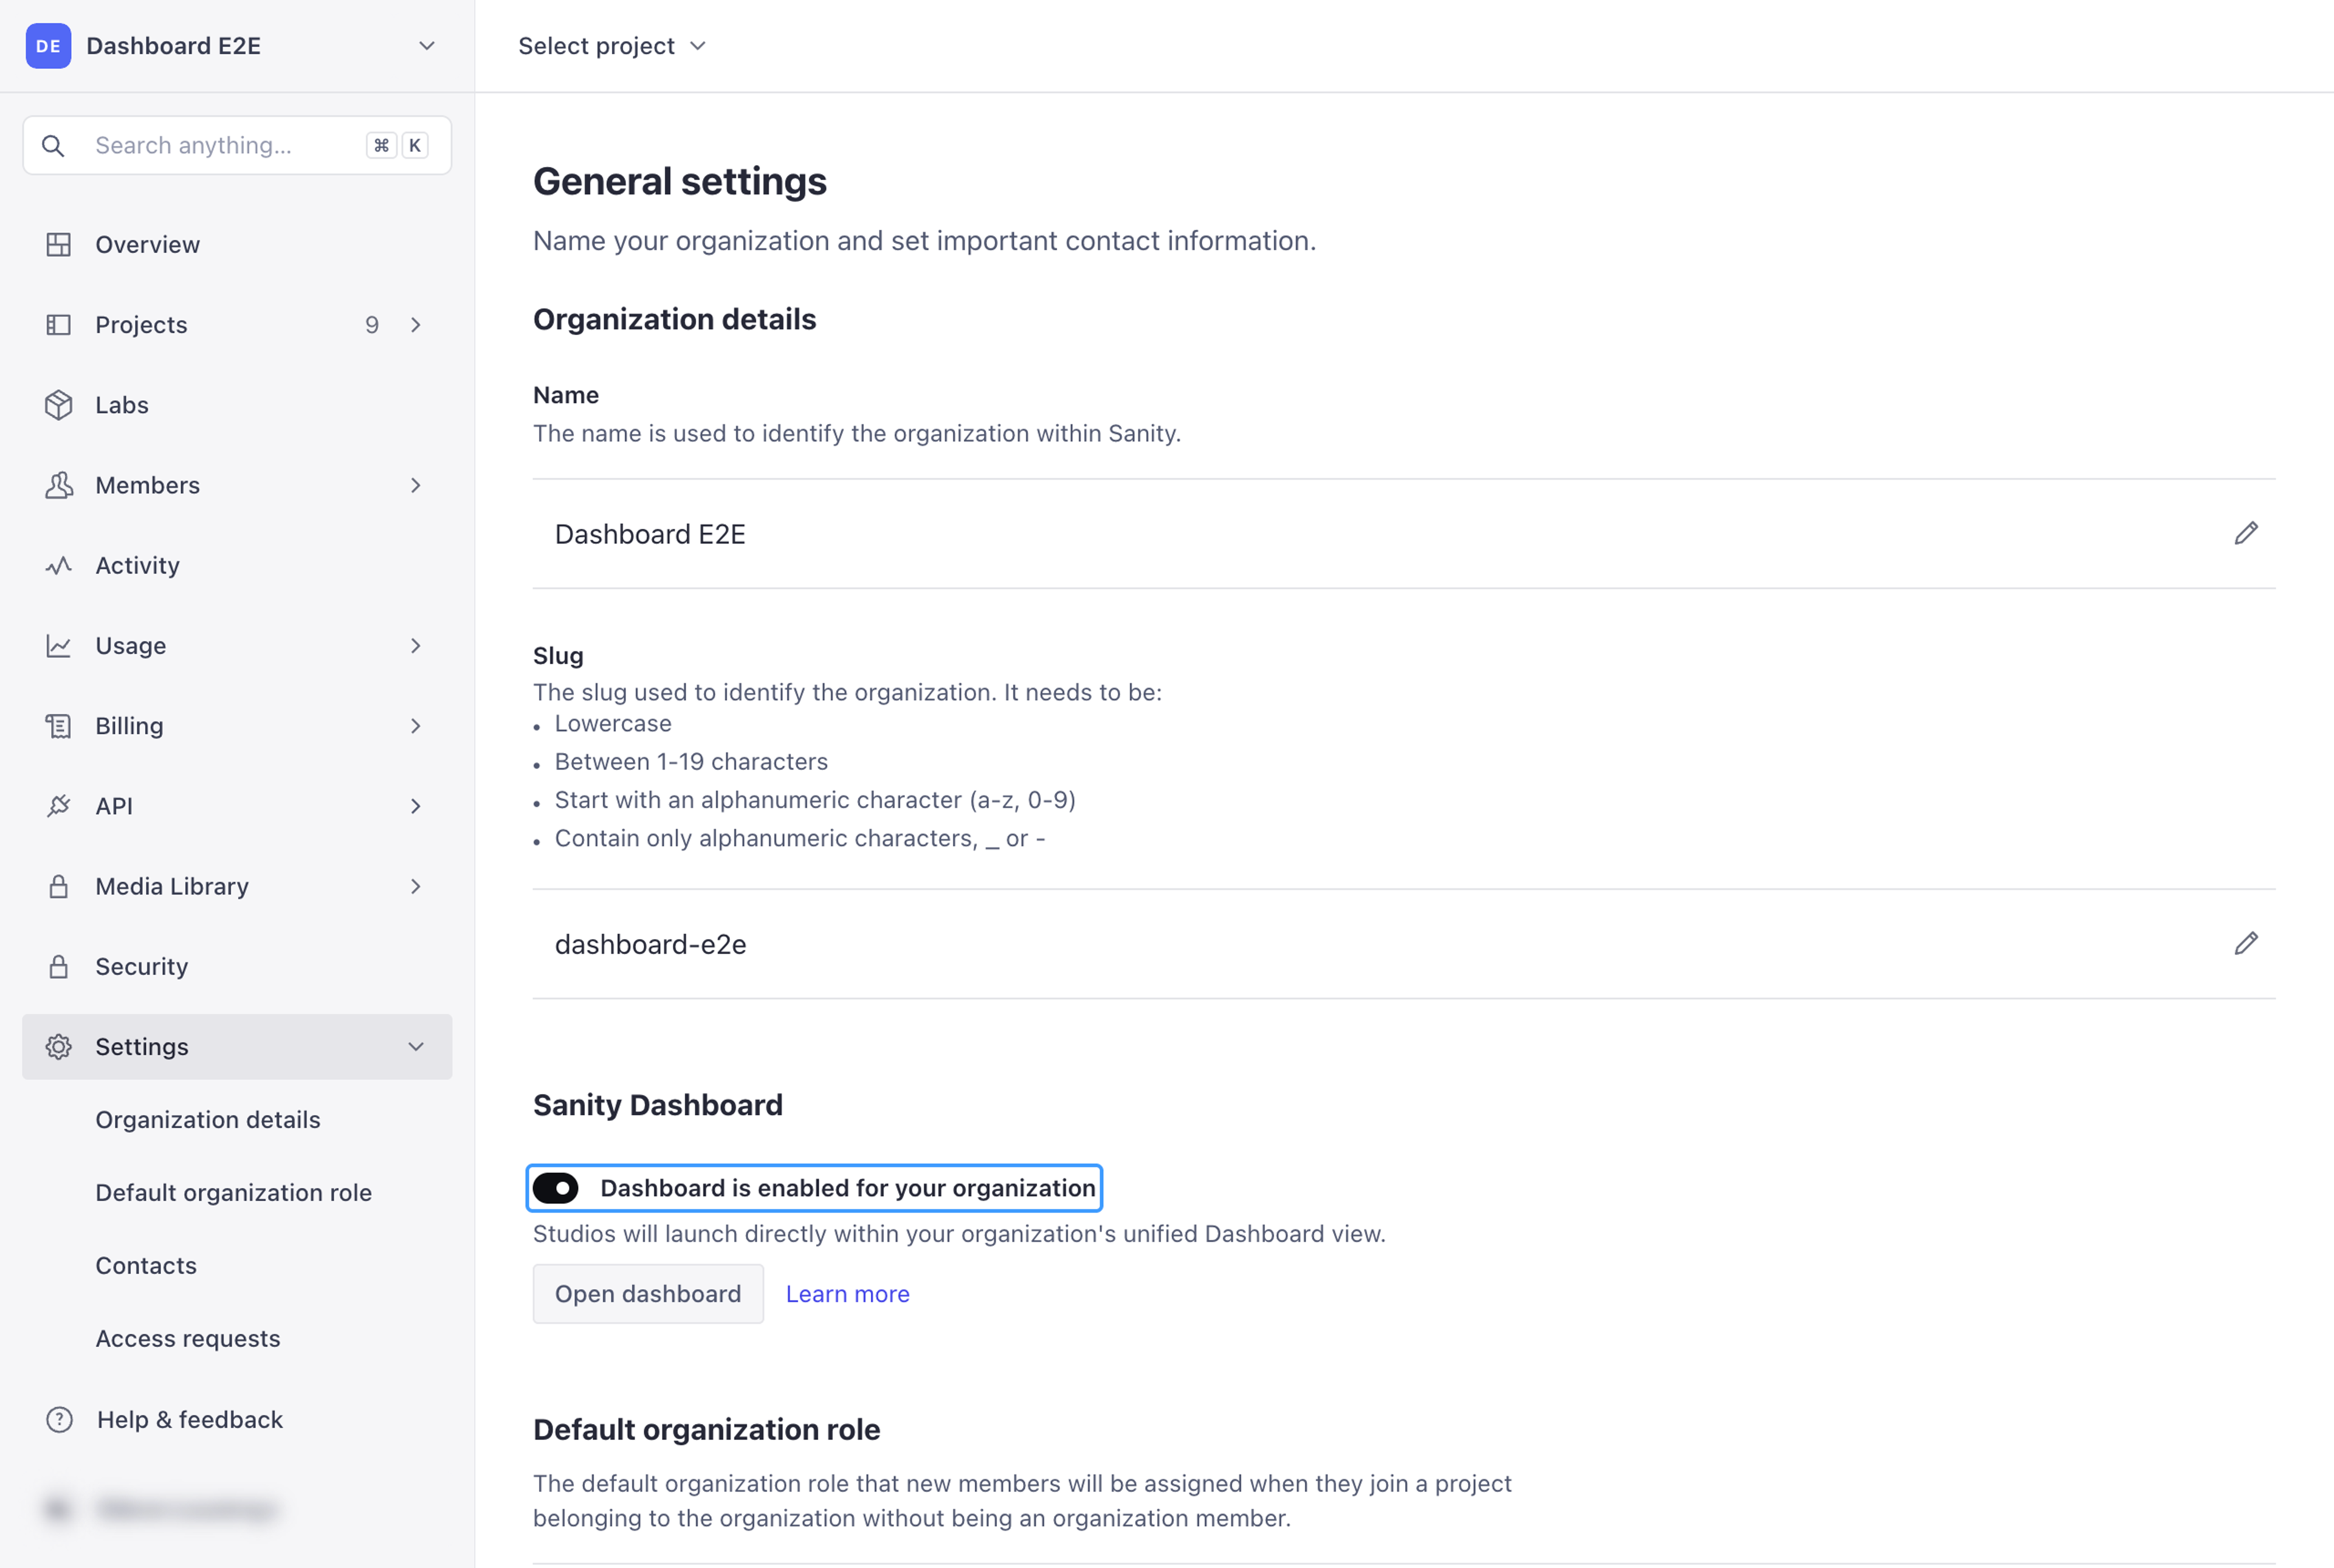
You can disable the dashboard for your organization by navigating to the organization in Sanity Manage.
Disabling Dashboard affects every user in your organization. From your organization's manage page:
- Select Settings in the sidebar.
- Toggle the Dashboard is enabled switch to disable Dashboard.
Hide a studio from Dashboard
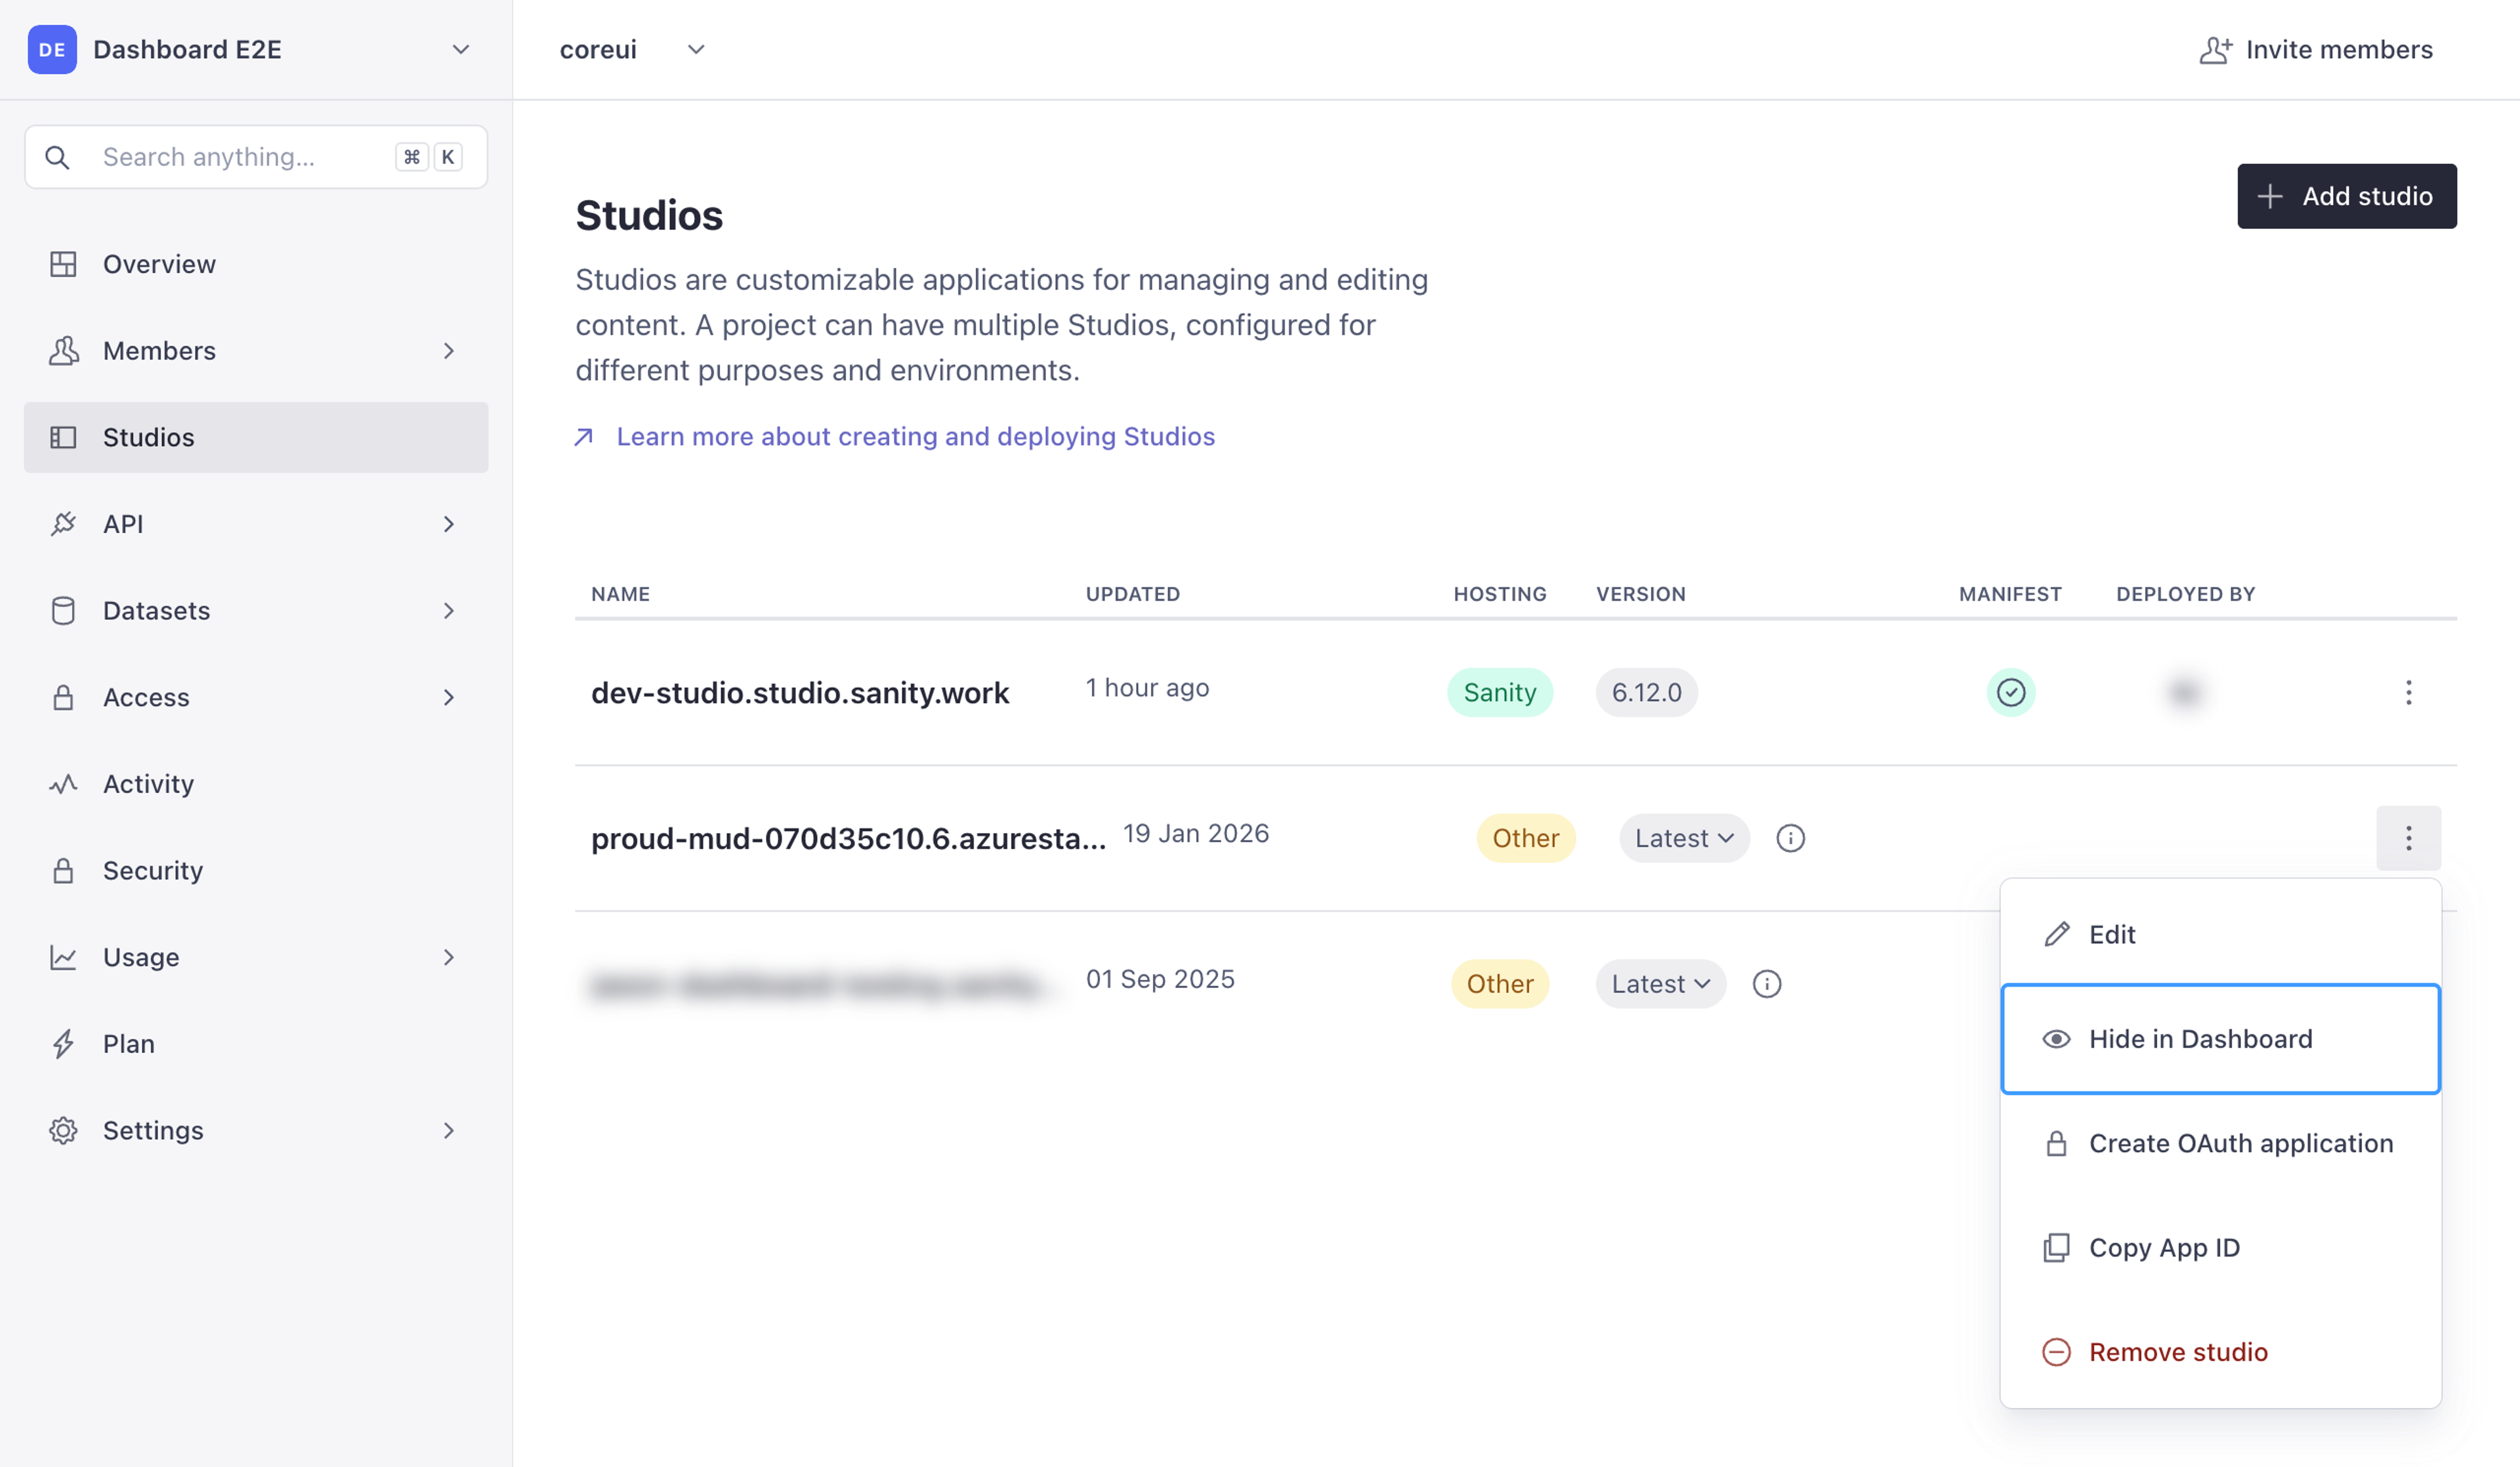
You can hide a studio from the dashboard in Sanity Manage.
- Open Sanity Manage and select your project.
- Select Studios in the sidebar.
- Open the context menu (⋯) for the studio you want to hide.
- Click Hide in Dashboard.
Configure your studios
Studios you deployed before Dashboard keep working as before, with your customization intact. To get the benefits of the integrated dashboard, deploy the studio once more. The exact steps depend on your setup.
Requirements
Dashboard works with studios back to v2.28.0, but for the best experience, upgrade to the latest sanity release.
- Studio version: v2.28.0 at minimum. Use the latest
sanityrelease unless you have a reason not to. - The workspace schema has to be deployed. Both
sanity deployandsanity deploy --externaldo this. For details, see Schema deployment. - For self-hosted and embedded studios that are not compiled using Sanity build tools (
sanity buildorsanity deploy), you'll also need to add a small bridge script to connect with the dashboard.
Sanity-hosted studio
If you are using Sanity's hosting service, you get the most straightforward route. To set up your project to automatically generate the necessary schema and manifest files on every deployment, follow these steps:
- Upgrade your studio to the latest
sanityrelease. Schema deployment requires v3.88.0 or later. - Deploy your studio by running the command
npx sanity deploy.
The Sanity CLI automatically builds your studio and manifest files and deploys them to the configured host. The manifest file is available at YOUR_STUDIO_HOST.sanity.studio/static/create-manifest.json.
Auto-updating studios still need one deployment
Even if you are opted into auto-updating studios, you still need one manual deployment to fully integrate with Dashboard.
Update your local studio to sanity@latest, then run npx sanity deploy.
Self-hosted studio
If you are not using Sanity's hosting service, setting up Dashboard comes down to one command. Running sanity deploy --external records where your studio is served and deploys its workspace schema in the same run. Dashboard, Media Library, and the App SDK read the manifest that is registered with your project, not a copy served from your own host, so serving the manifest yourself is neither required nor sufficient.
- Update your studio to the latest
sanityrelease. Schema deployment requires v3.88.0 or later. - Build your studio with
npx sanity@latest buildand upload the output to your host, the same way you would any static site. - Make sure the studio is publicly reachable at that URL, without authentication. Dashboard cannot embed a studio it cannot load.
- Register the studio and deploy its schema by running
npx sanity@latest deploy --external --url https://example.com/studiofrom your studio folder. Use the full public URL, including any base path. Run it on every deployment: registration itself persists, so--urlis only needed on the first run or when the URL changes, but each run refreshes the schema and manifest.
Registration is required for Dashboard and Media Library
Without sanity deploy --external, your studio has no registered manifest. Dashboard, Media Library, and the App SDK cannot resolve which workspaces the studio has, so features that link back into the Studio (such as the Media Library in-use dialog) will not work. Running sanity schemas deploy alone does not register the studio, and neither does adding the studio URL in Manage.
Deploy to Vercel
To self-host your studio and schema files on Vercel, use the following configuration:
{
  "$schema": "https://openapi.vercel.sh/vercel.json",
  "framework": "sanity",
  "buildCommand": "sanity build && sanity deploy --external --url https://example.com/studio"
}
Studio embedded in Next.js
For Next.js projects with embedded studios, follow the steps in "Self-hosted studio", with two differences: how you generate the manifest files, and the bridge script you add.
- Upgrade your studio to the latest
sanityrelease. Schema deployment requires v3.88.0 or later. - Optional: generate the manifest files by running
npx sanity@latest manifest extract --path public/studio/static, matching your studio's path relative to the Next.js project root. Dashboard reads the manifest registered bysanity deploy --external, so you only need this if something in your setup fetches the manifest from your domain directly. - Register the studio and deploy its schema by running
npx sanity@latest deploy --external --url https://cool-domain.com/admin. Use the full public URL of your studio, including the path it is served from. - If you extracted the manifest files, Next.js serves them when you deploy your application.
- Finally, add the Dashboard bridge script to your studio route as shown in "Add the bridge component", then deploy your project.
Add the bridge component
For self-hosted and embedded studios that are not compiled using sanity build or sanity deploy, or that use next-sanity, you also need to add a small script so Dashboard can interact with your studios:
<script src="https://core.sanity-cdn.com/bridge.js" async type="module"></script>
Exactly where you should put the script varies depending on your exact setup, but a generalized example might look as follows:
import {preloadModule} from 'react-dom'

const bridgeScript = 'https://core.sanity-cdn.com/bridge.js'

export default function StudioLayout({
  children,
}: {
  children: React.ReactNode
}) {
  preloadModule(bridgeScript, {as: 'script'})
  return (
    <>
      <script src={bridgeScript} async type="module" />
      {children}
    </>
  )
}
Allow embedding for protected domains
Some services, such as Cloudflare’s domain protection and Vercel’s deployment previews, may restrict your studio’s ability to be embedded in Dashboard by setting restrictive headers.
Check the X-Frame-Options header
If this is set to DENY, Dashboard cannot embed your studio. If set to SAMEORIGIN, your studio can only be framed by a page on the studio's own origin, so Dashboard at sanity.io is still blocked. Because both options prevent Dashboard from embedding your studio, set the frame-ancestors policy instead.
Set the Content-Security-Policy: frame-ancestors directive
If your service provider lets you define custom headers, allow Dashboard by including a frame-ancestors directive in Content-Security-Policy. Note that 'self' alone is not enough, because it permits framing only by the studio's own origin, which leaves Dashboard at sanity.io blocked. The expression list has to include at least one of:
https://www.sanity.iohttps://*.sanity.io(recommended)https:, which permits framing by any HTTPS origin. Prefer one of the Sanity-specific values.
For example:
Content-Security-Policy: frame-ancestors https://*.sanity.io;Add a token for CI/CD pipelines
If you deploy your studio as part of an automated workflow, add a deploy token to your project in Sanity Manage, then run the registration step with it:
SANITY_AUTH_TOKEN=YOUR_DEPLOY_TOKEN npx sanity@latest deploy --external --url https://example.com/studio
One command covers both jobs: sanity deploy --external keeps the stored schema current and keeps the registered manifest current. A deploy token carries the deployStudio grant it needs; a write token isn't required. Skip this step in your pipeline and Dashboard and Media Library fall out of sync with your studio.
To get a deploy token, open your project in Sanity Manage and select API › Tokens in the sidebar.
Update studio icons in Dashboard
Dashboard retrieves the icon for each studio workspace from the icon property defined in that studio’s workspace configuration:
import {defineConfig} from 'sanity'
import {structureTool} from 'sanity/structure'
import {schemaTypes} from './schemas'
import {StudioIcon} from './StudioIcon'

export default defineConfig({
  projectId: 'YOUR_PROJECT_ID',
  dataset: 'production',
  plugins: [structureTool()],
  schema: {
    types: schemaTypes,
  },
  icon: StudioIcon,
  // ... rest of config
})
export const StudioIcon = () => (
<svg width="1em" height="1em" viewBox="0 0 25 25">
<text x="50%" y="50%" textAnchor="middle" dominantBaseline="middle">
🤘
</text>
</svg>
)This icon must be a simple, serializable React component that renders a static element. Because the icon is extracted from the configuration and added to the studio manifest, it cannot depend on external values, context, hooks, or any dynamic logic. Static, self-contained SVG components work best.
Icons for studios with multiple workspaces
Dashboard uses a workspace’s icon only when it resolves a single workspace for a studio. For a studio with more than one workspace, Dashboard shows a generated avatar with the studio’s initials instead, and the icon property has no effect.
Which workspaces count depends on who is looking. Dashboard leaves out any workspace whose project the viewer can’t access. When a studio’s workspaces span several projects, someone with access to one of those projects sees that workspace’s icon, while a teammate with access to all of them sees the initials avatar for the same studio.
To learn more about configuring studio workspaces, visit Configuration.
Change a studio’s name in Dashboard
Dashboard resolves the name it shows for a studio in this order:
- The Title set for the studio in Sanity Manage, if there is one.
- The project’s display name, for a Sanity-hosted studio with more than one workspace.
- The title of the studio’s first workspace.
So a studio with a single workspace shows the title from its workspace configuration, while a Sanity-hosted studio with several workspaces shows the project name until someone sets a studio title.
To set a studio title:
- Open Sanity Manage and select your project.
- Select Studios in the sidebar.
- Open the context menu (⋯) for the studio you want to rename.
- Click Edit.
- Enter a name in the Title field, then click Save.
The title applies to everyone who sees the studio in Dashboard, and it takes precedence over both the project name and the workspace title.